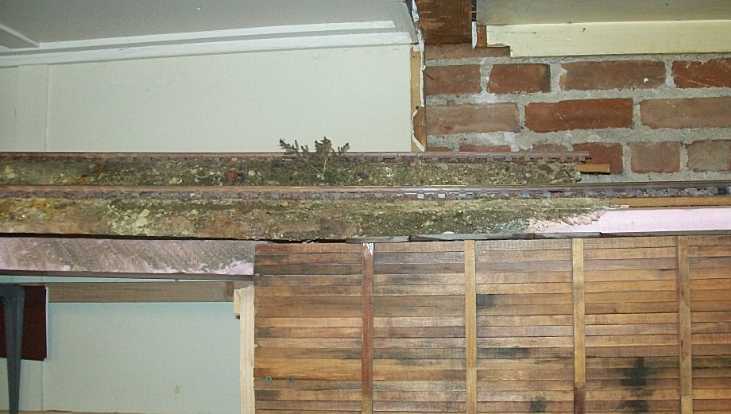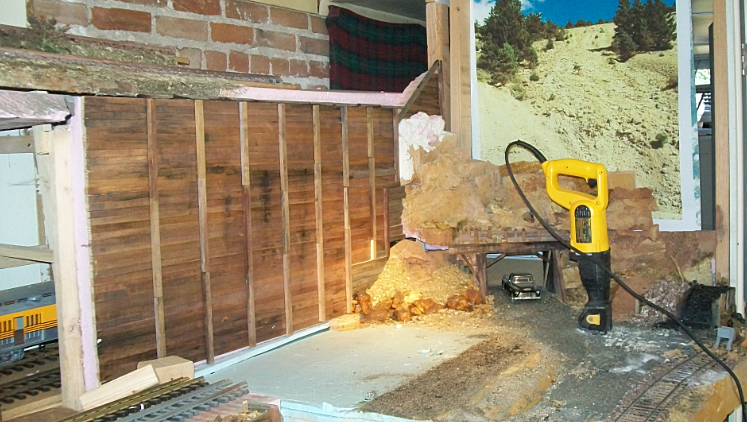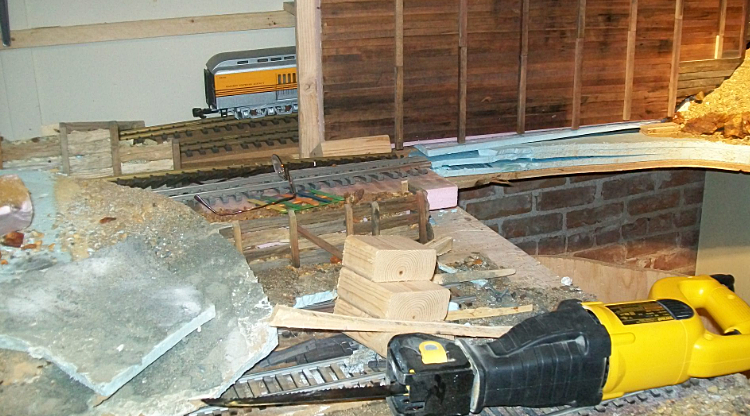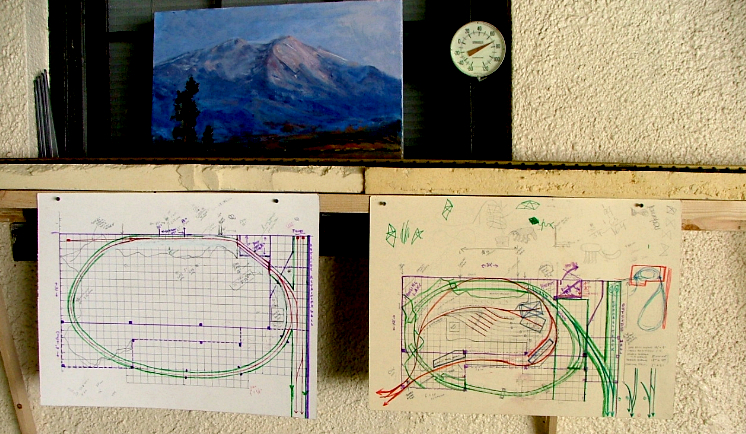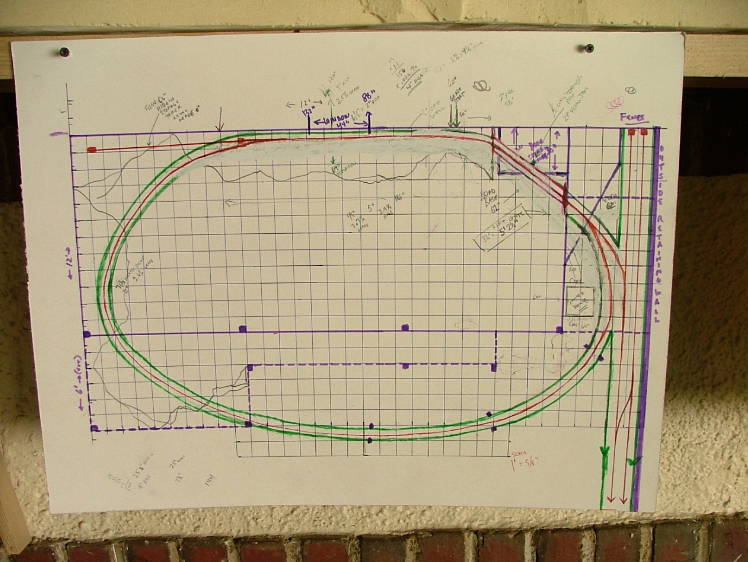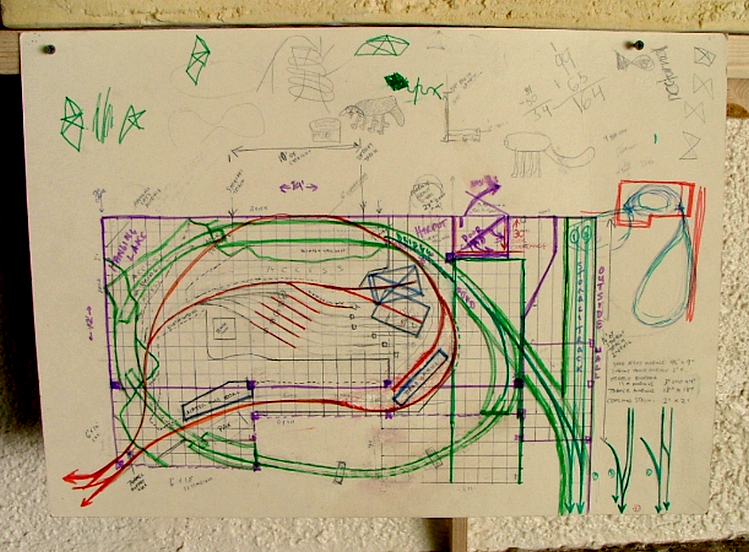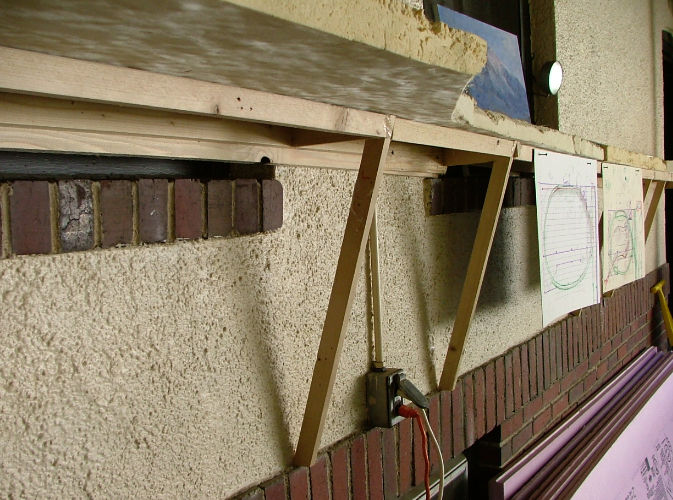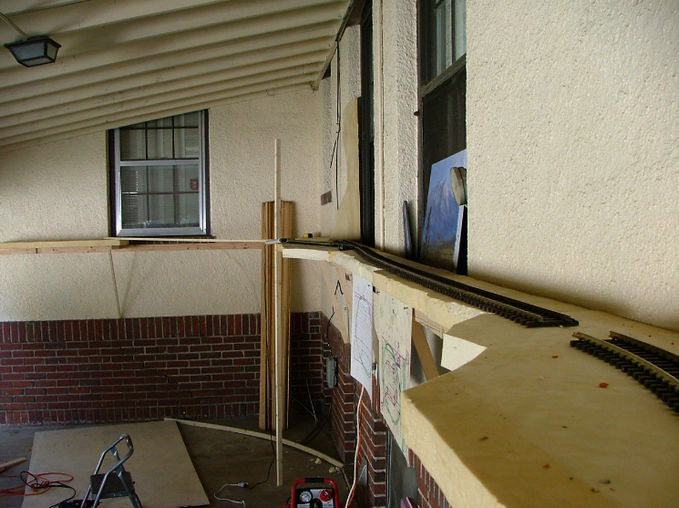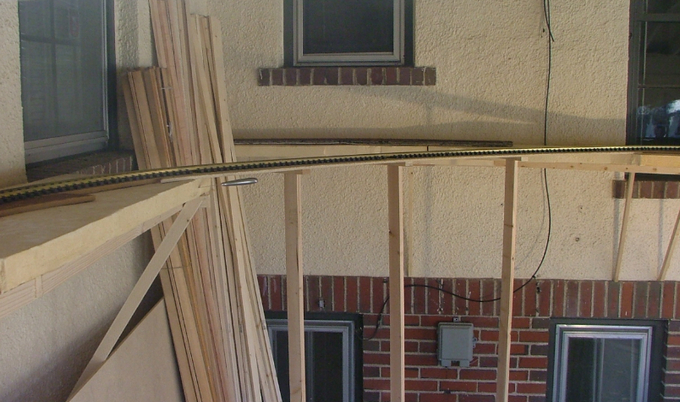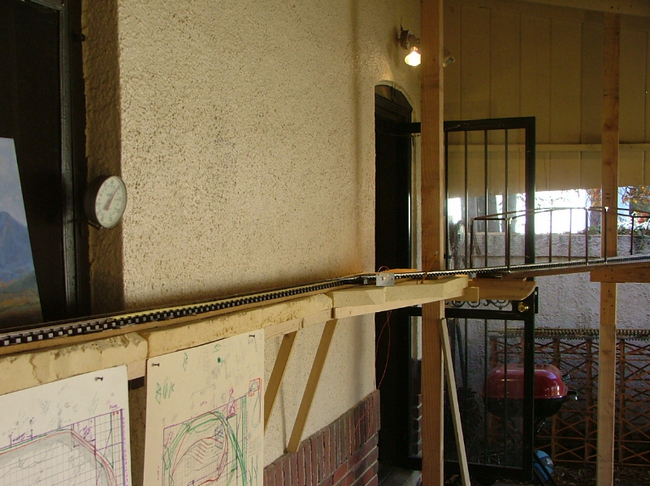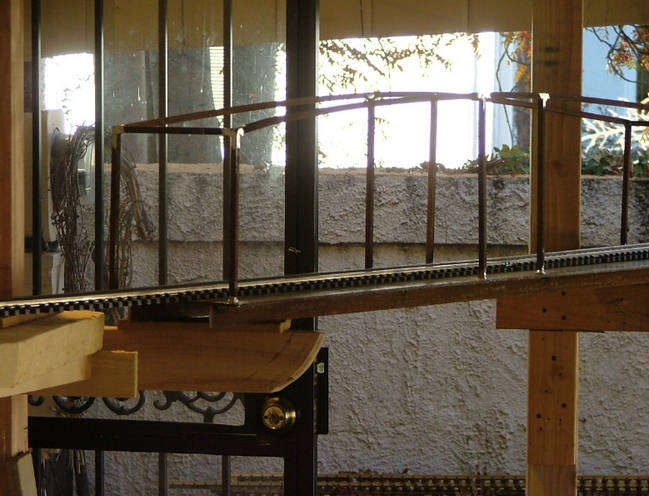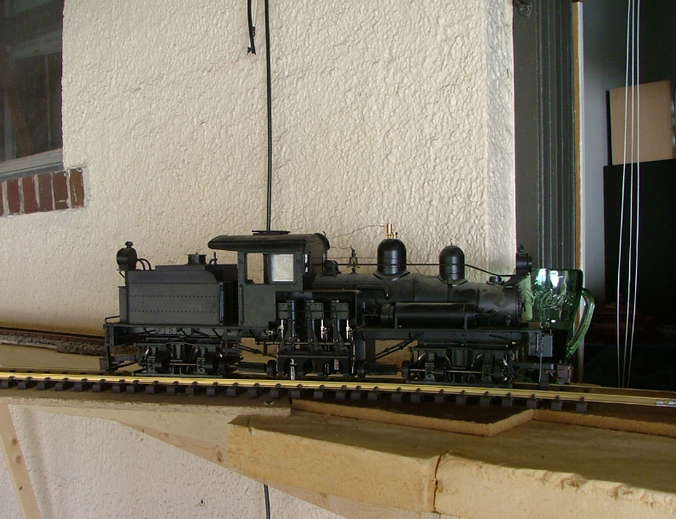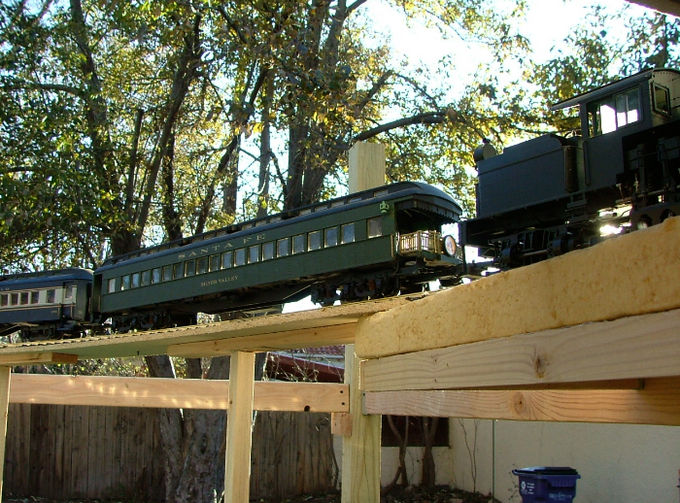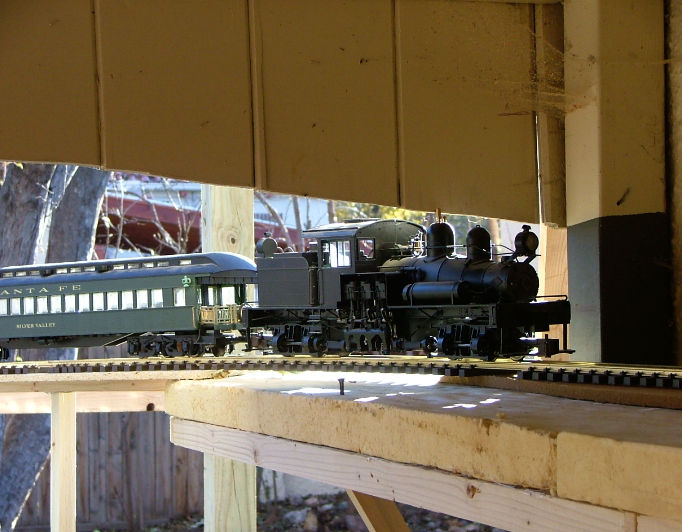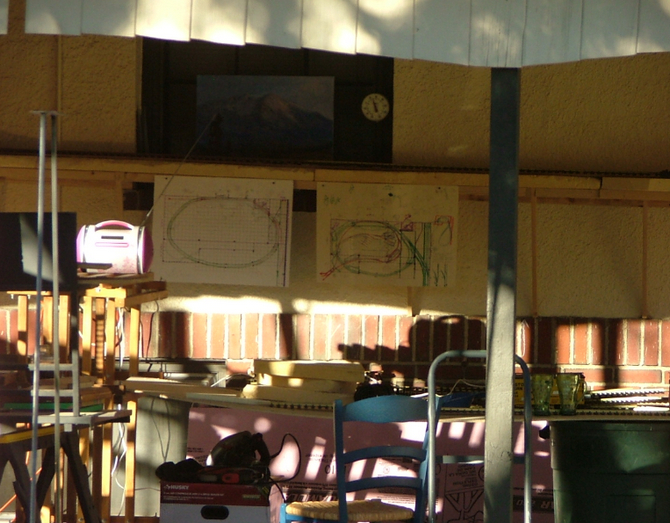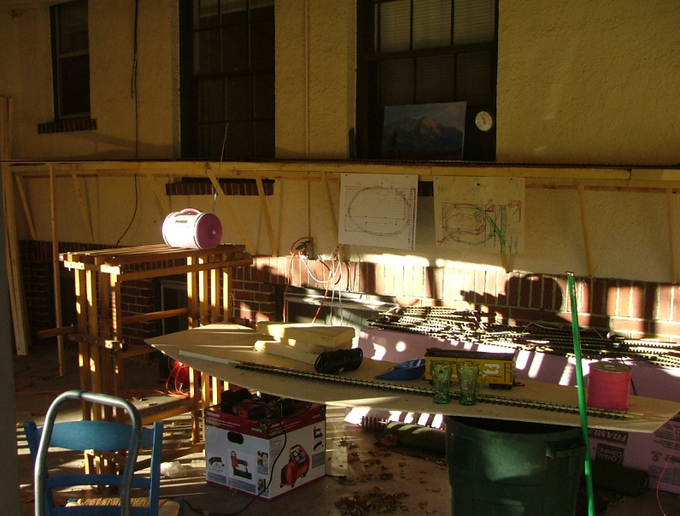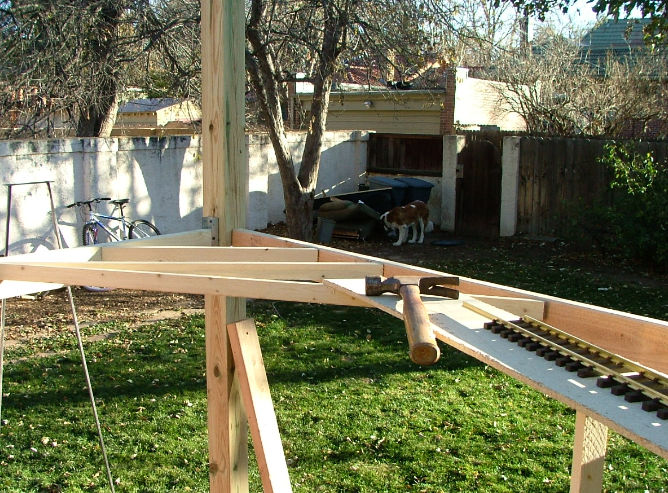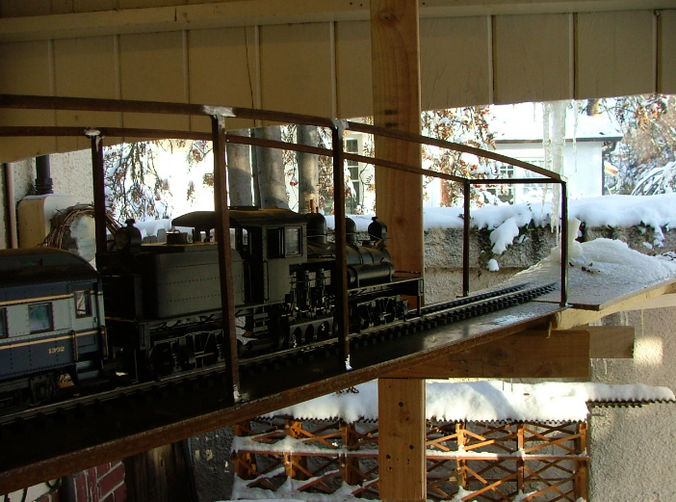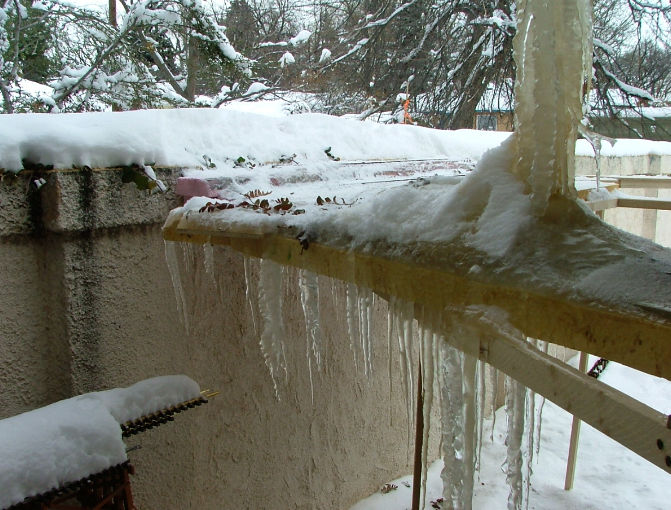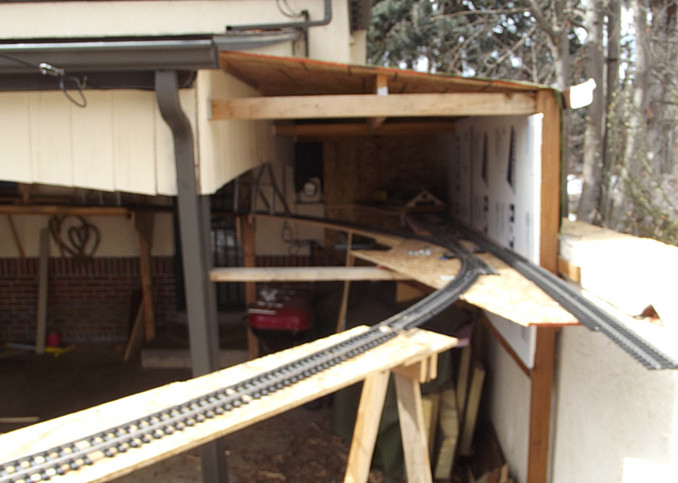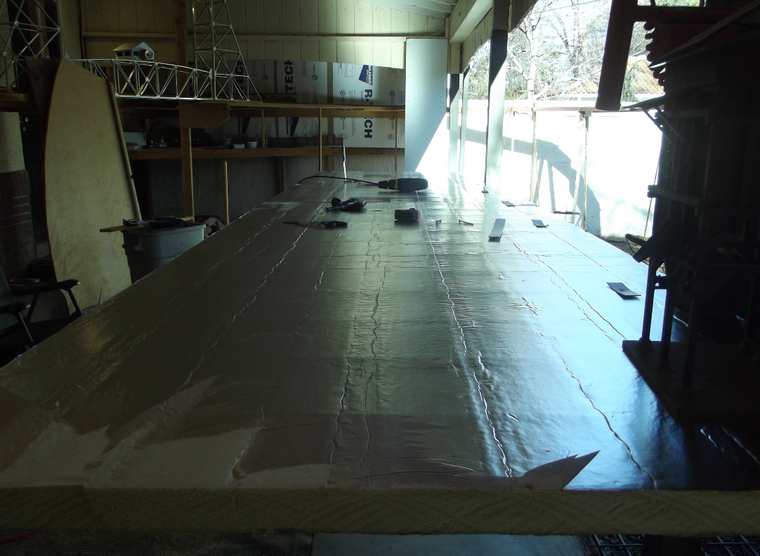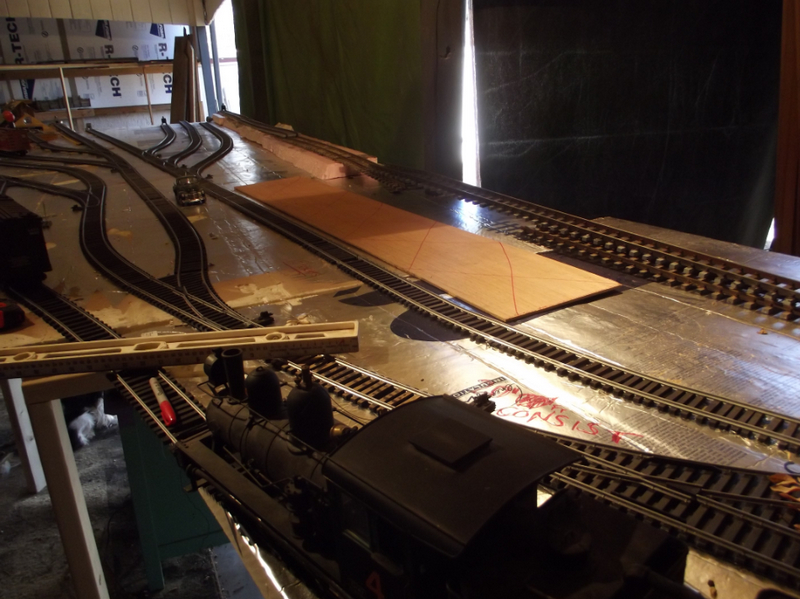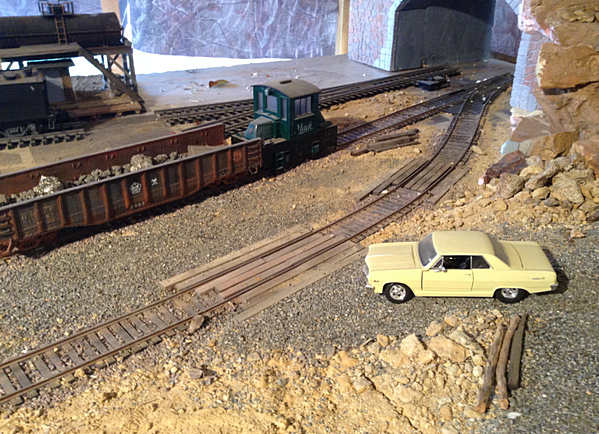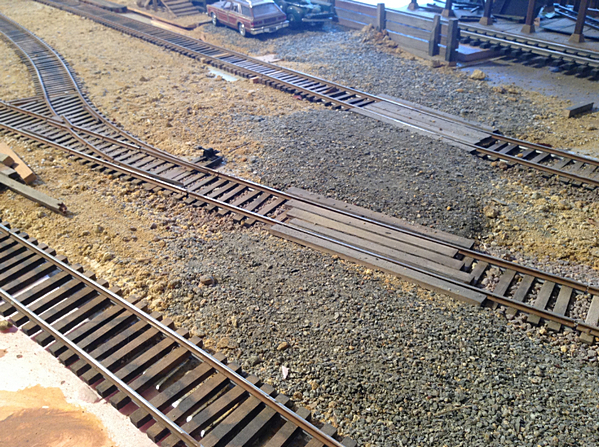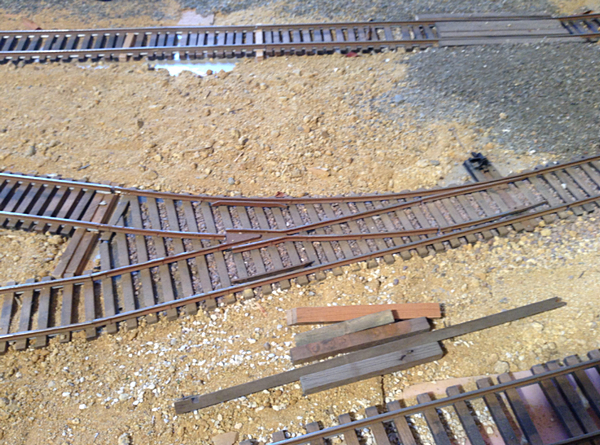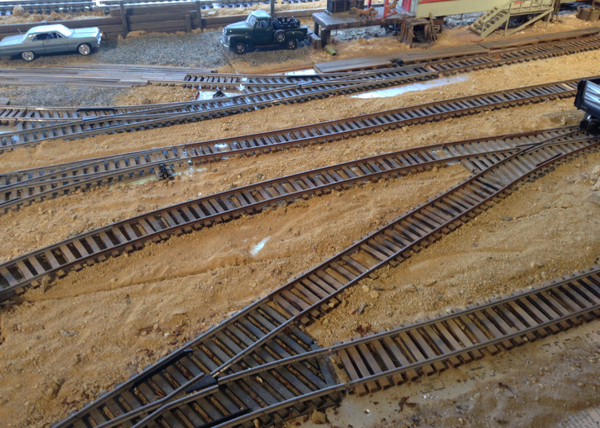
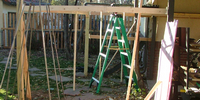
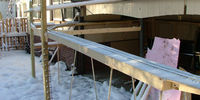
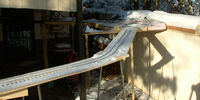
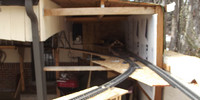
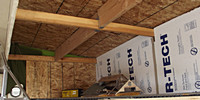
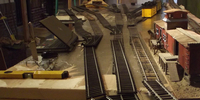
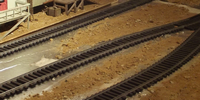
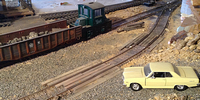
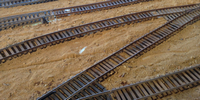
This set of images shows the first completion of the upper loop, soon revised to widen the curves.
The temporary bridges are in place and the elevations are settled but not the radii.
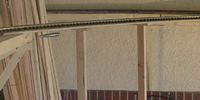
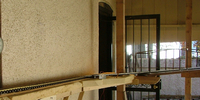
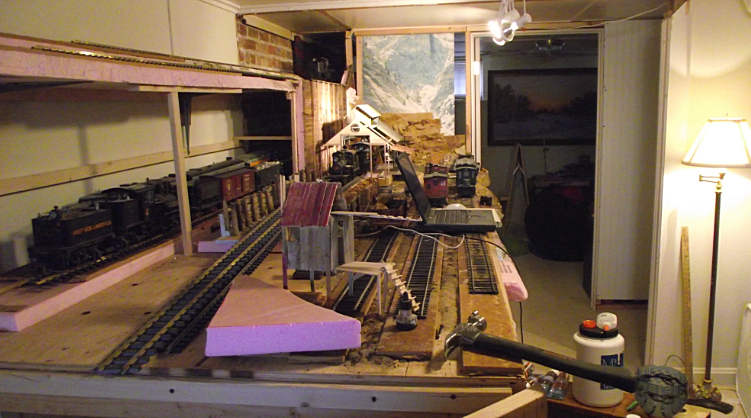
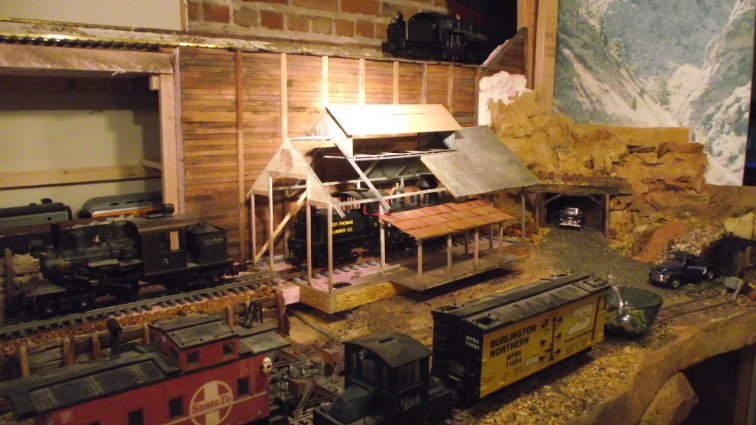
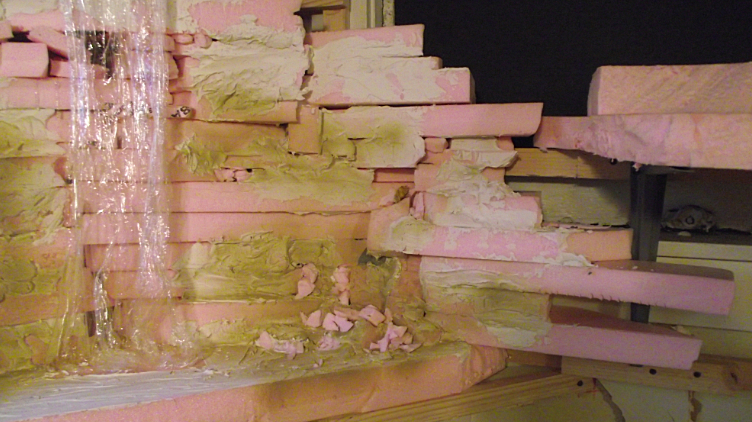
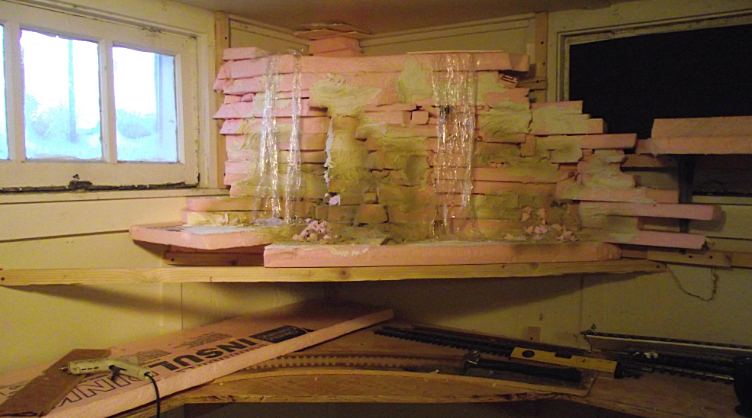
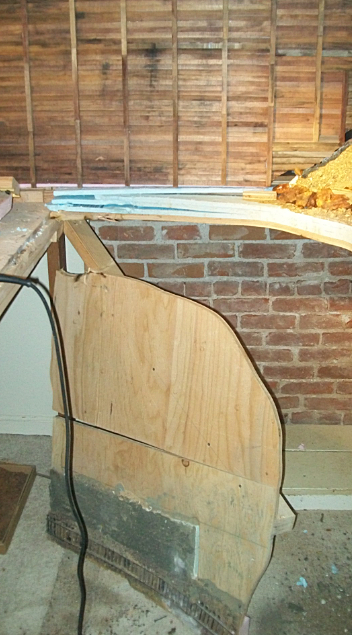
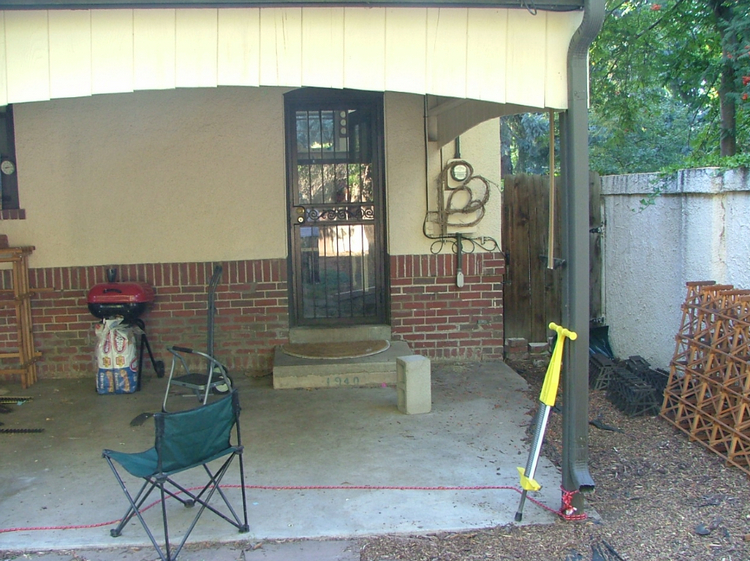
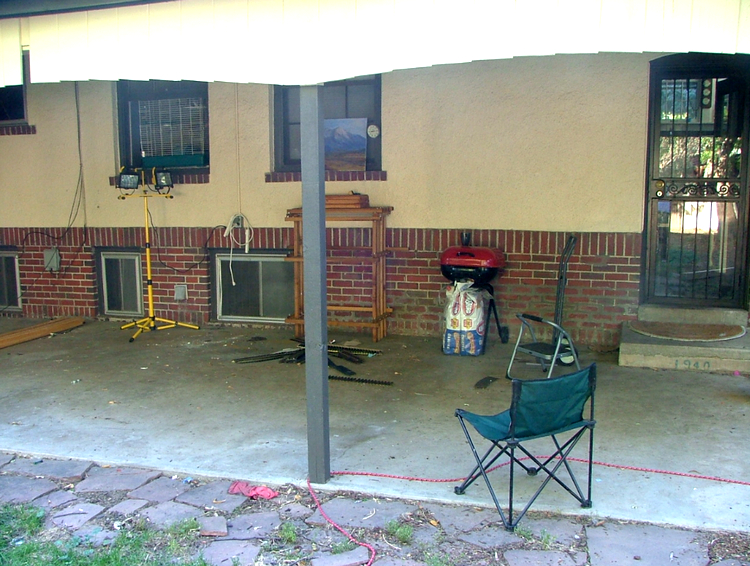
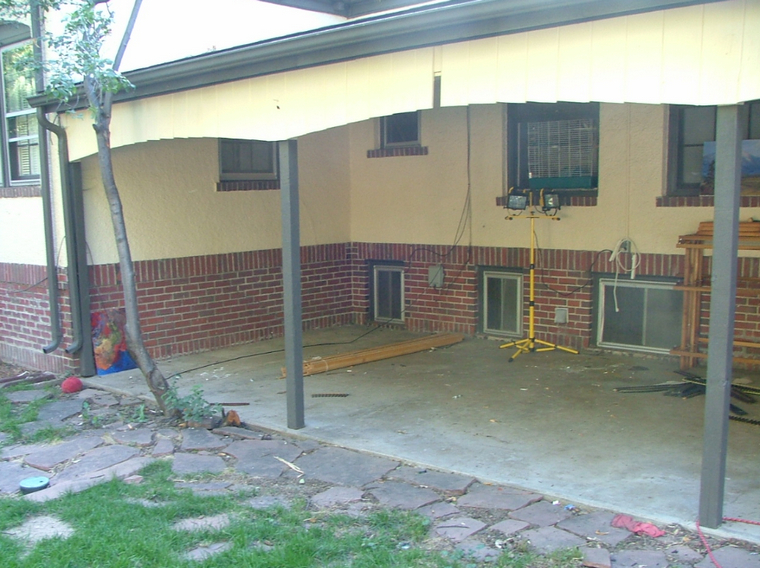
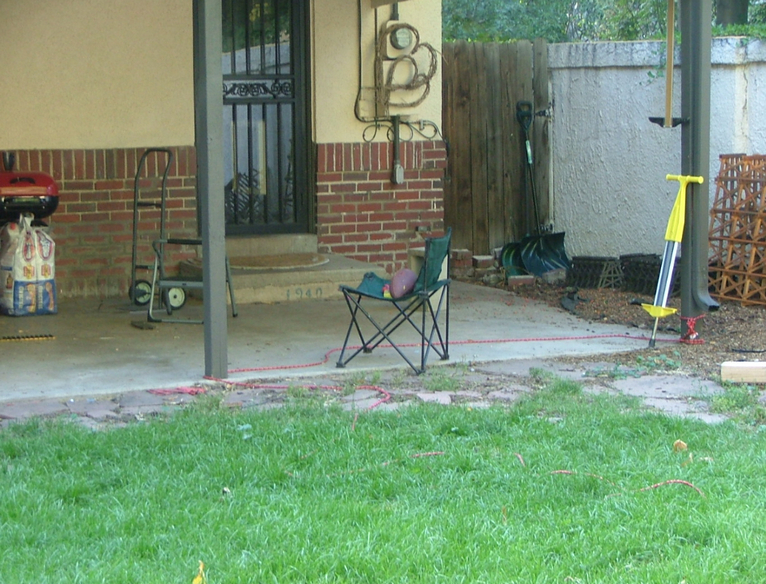
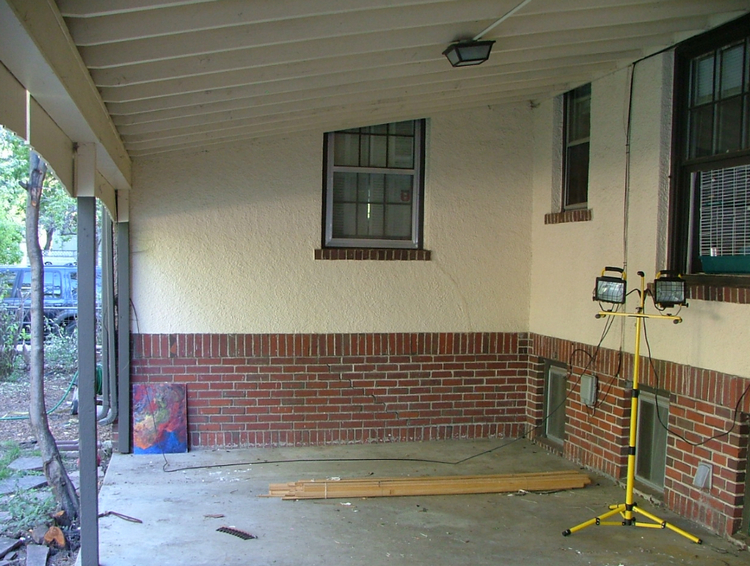
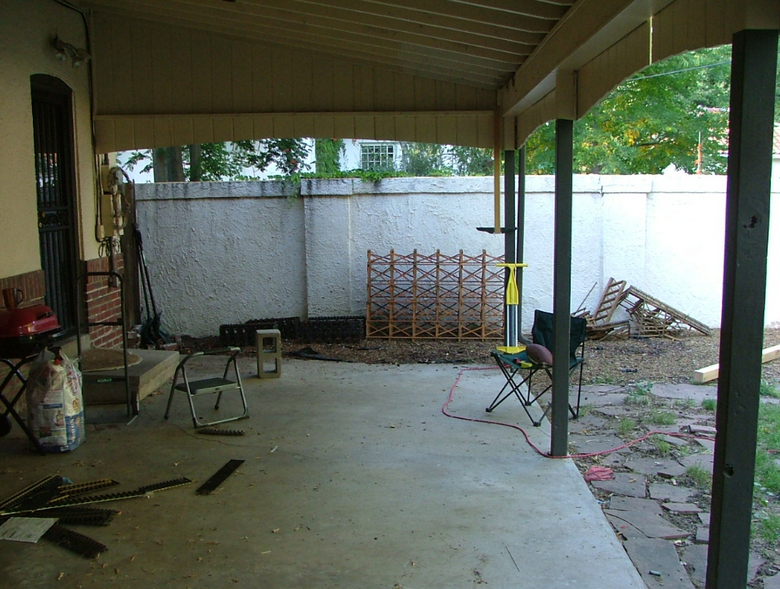
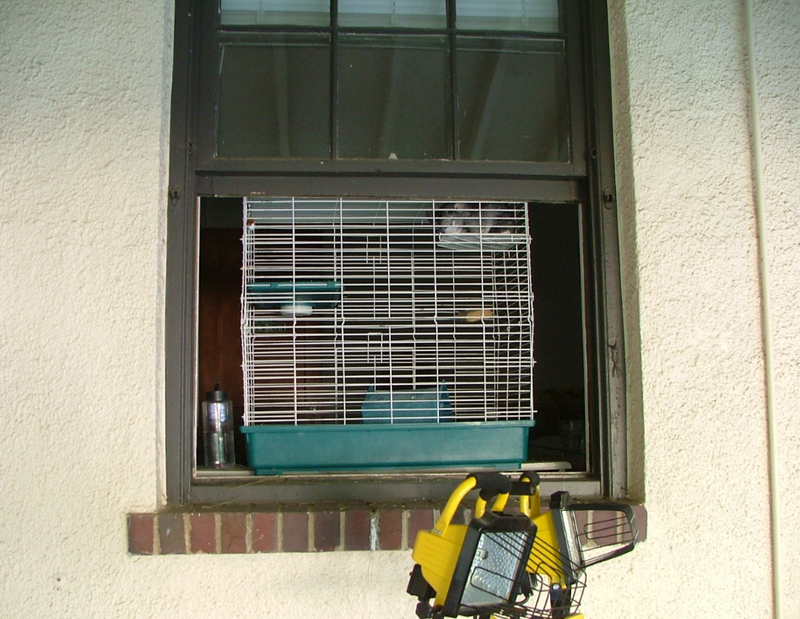
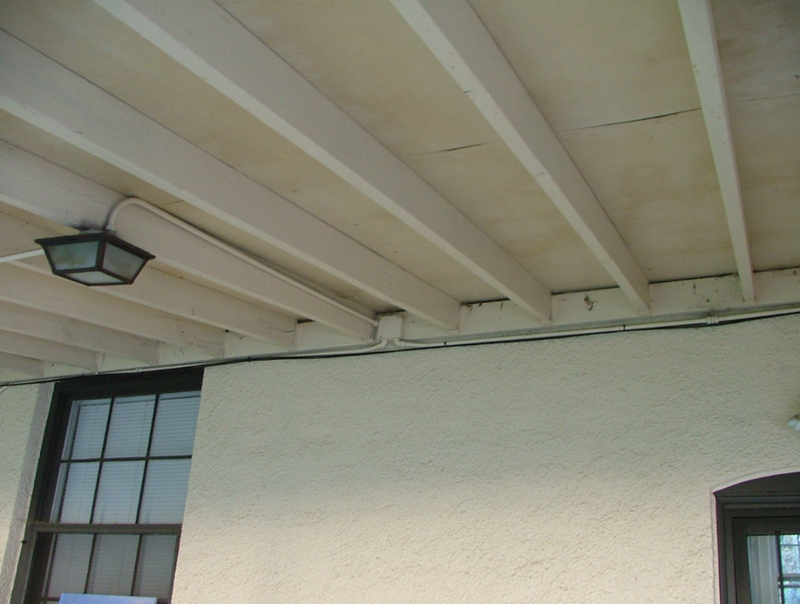
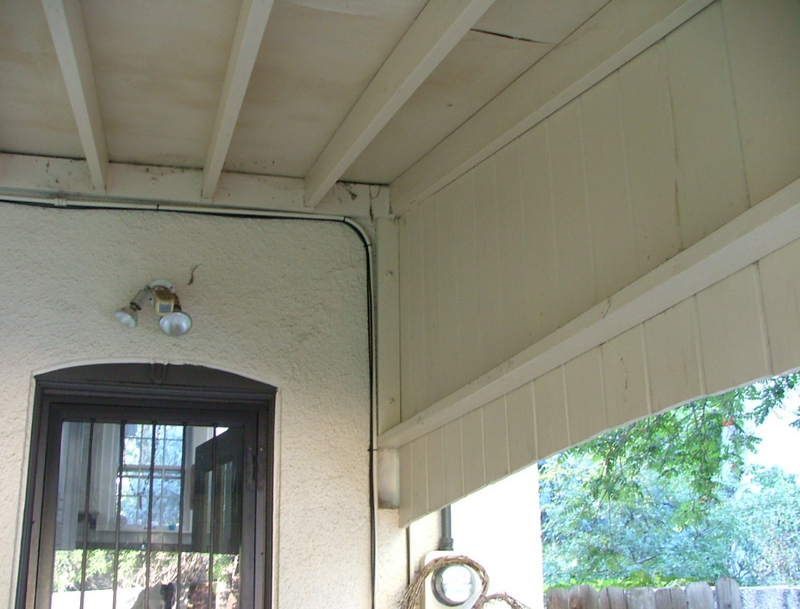
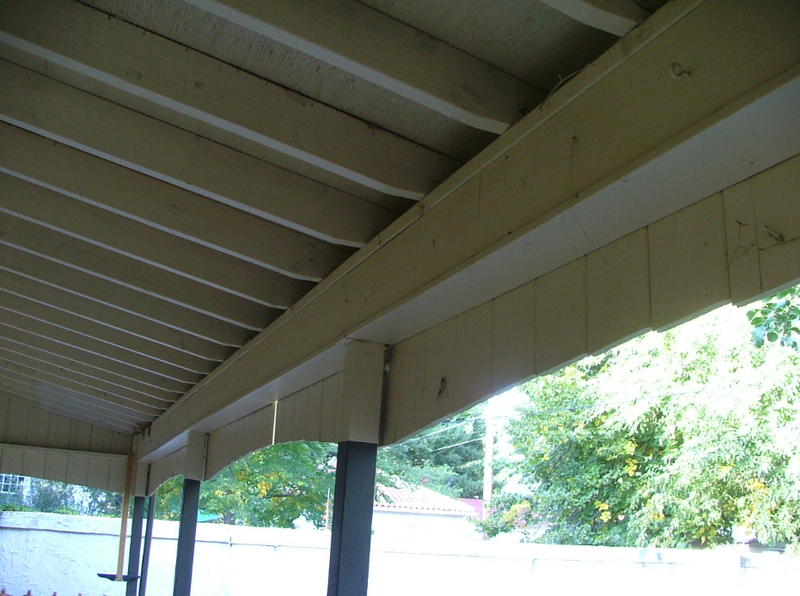
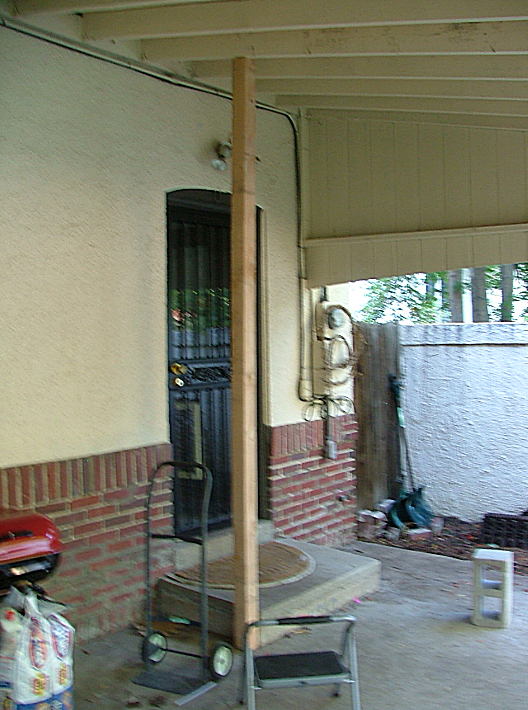
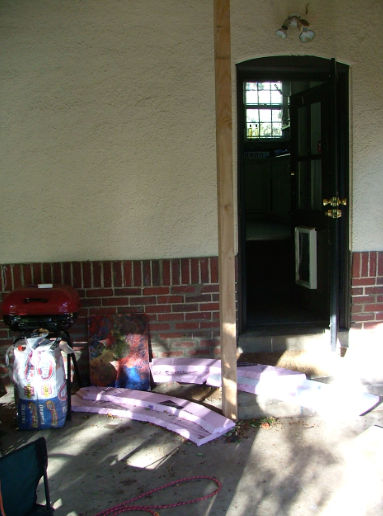
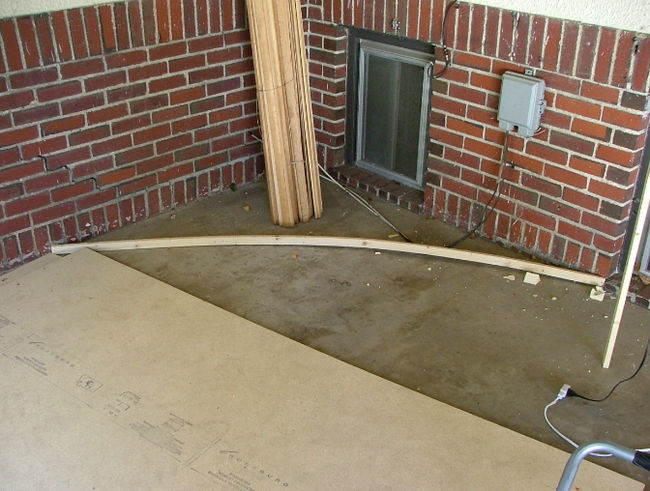
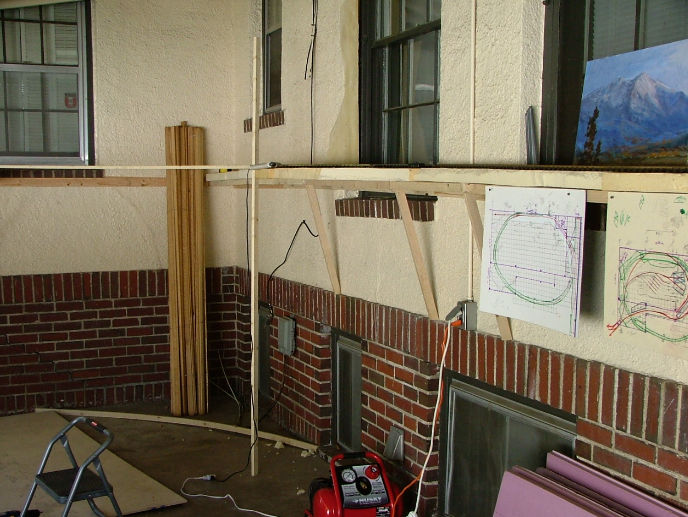
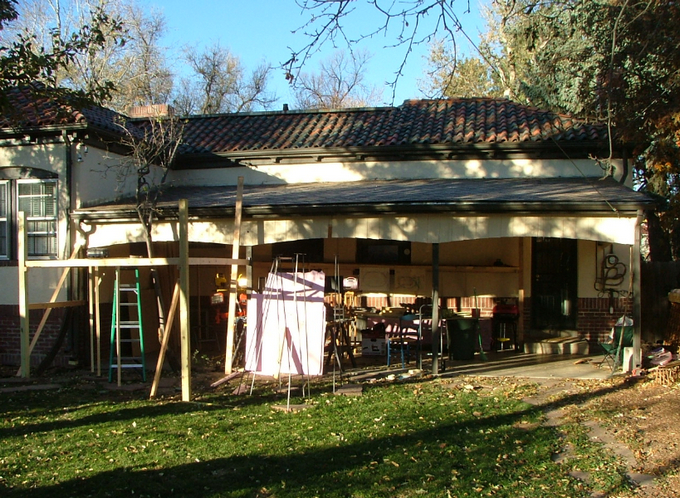
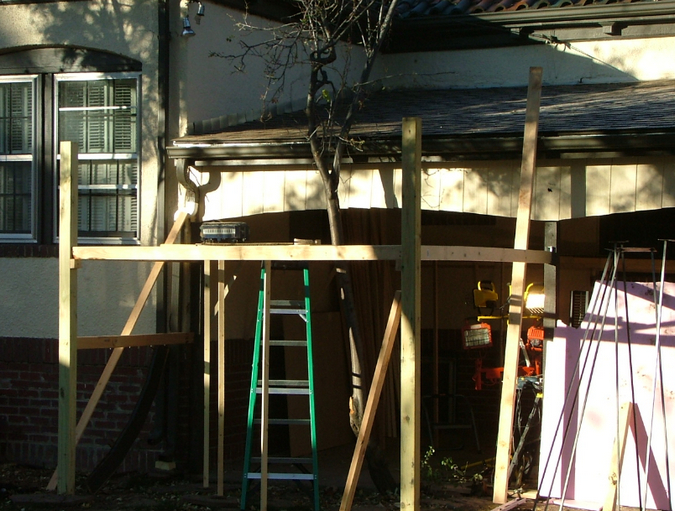
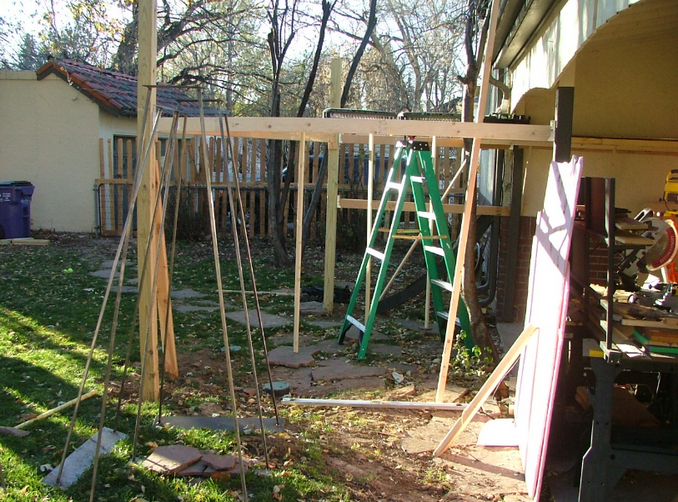
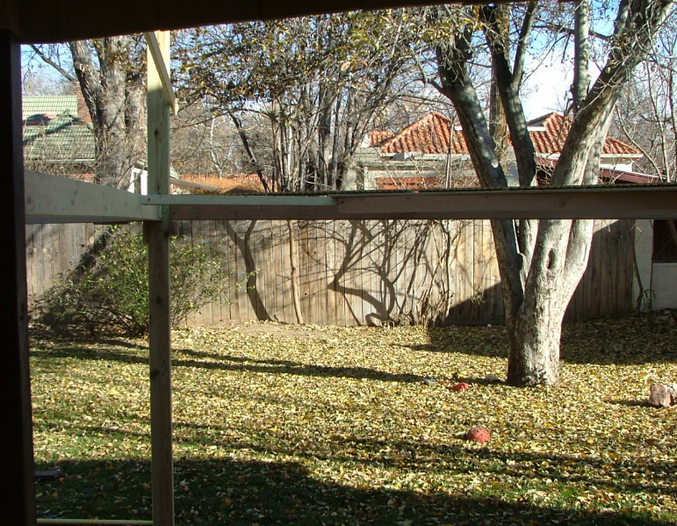
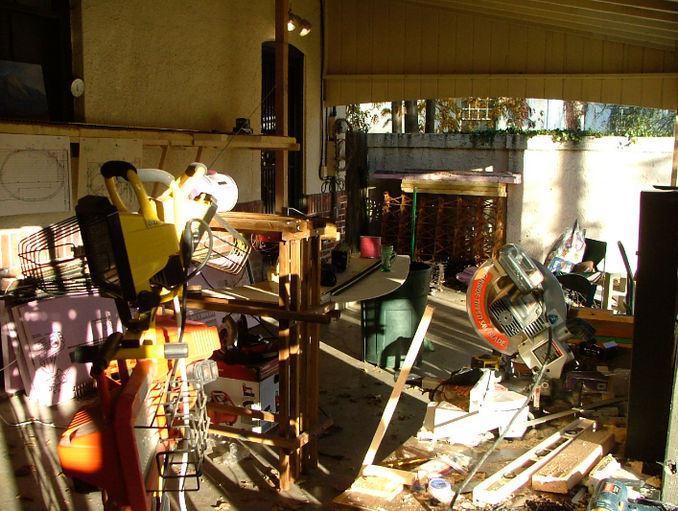
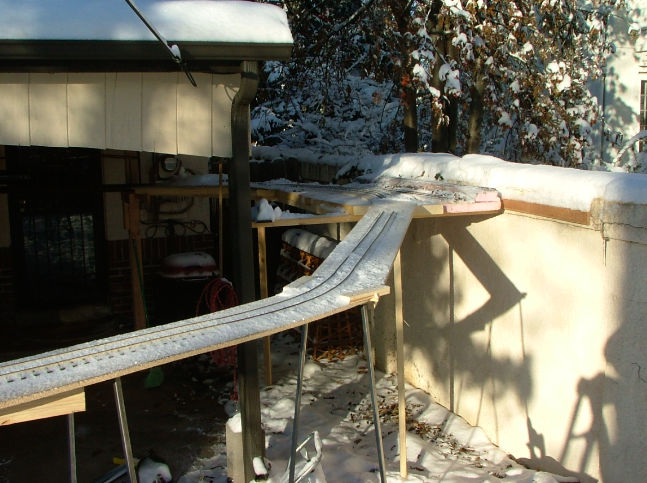
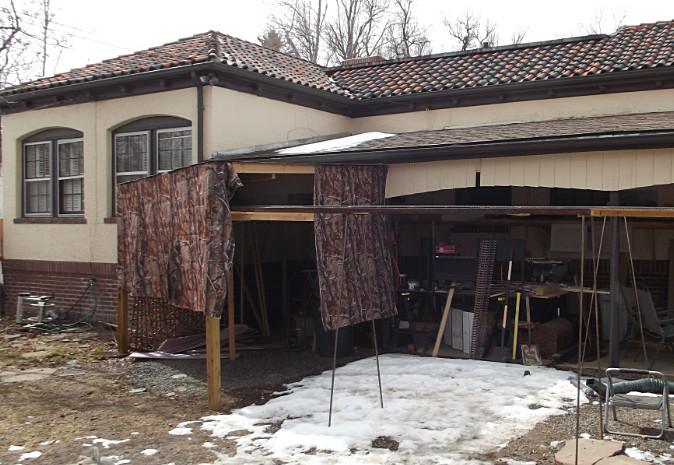
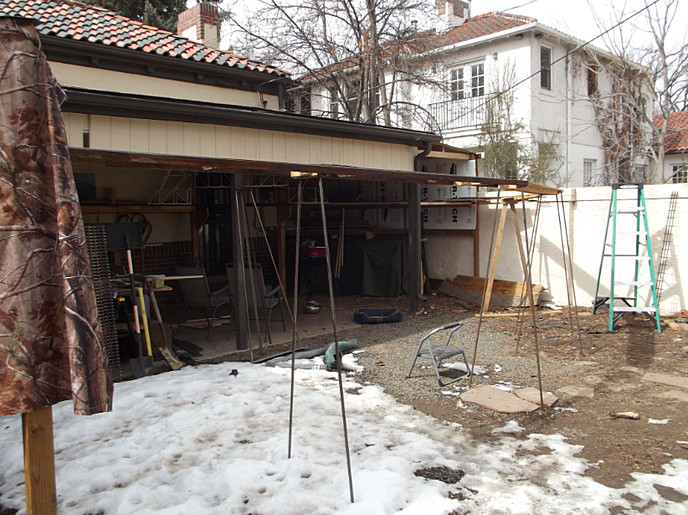
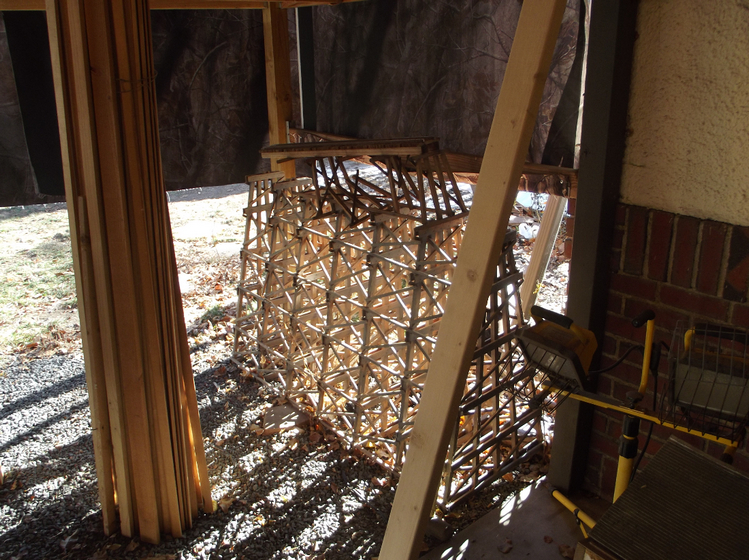
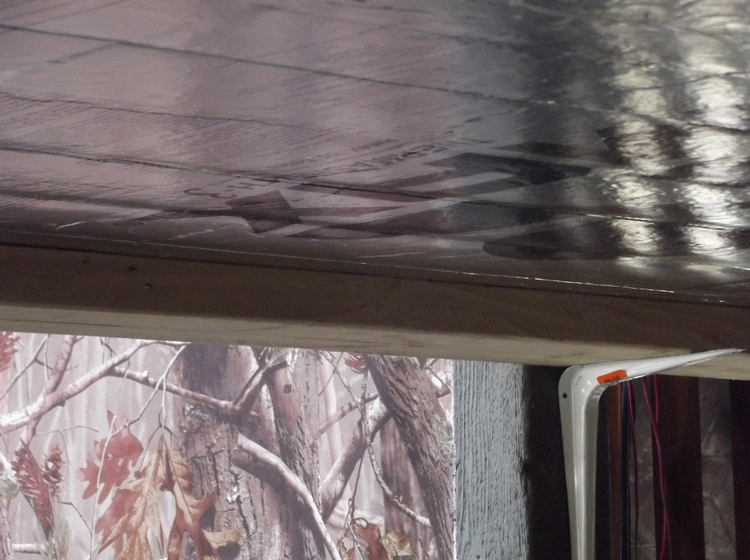
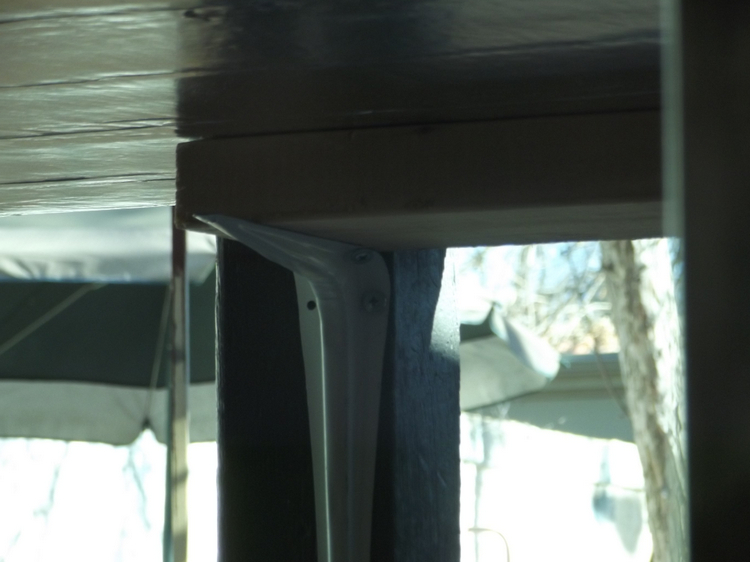
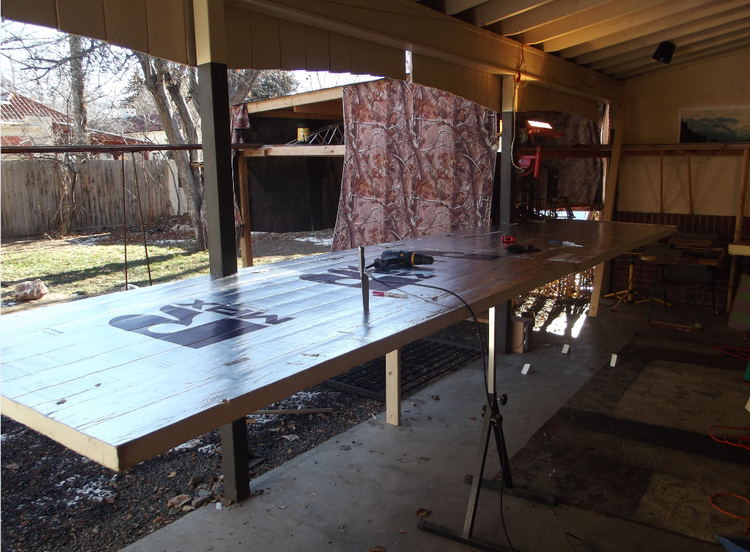
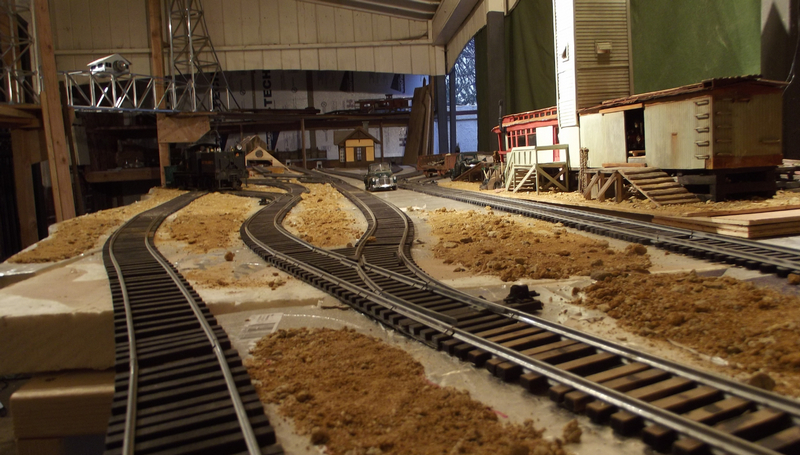
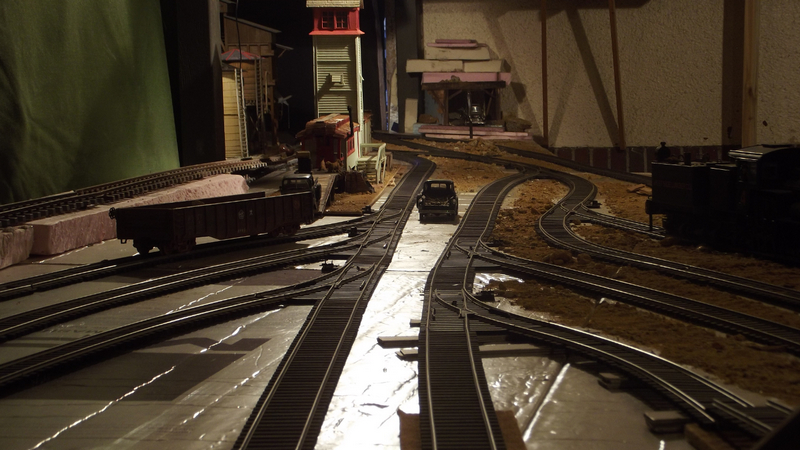
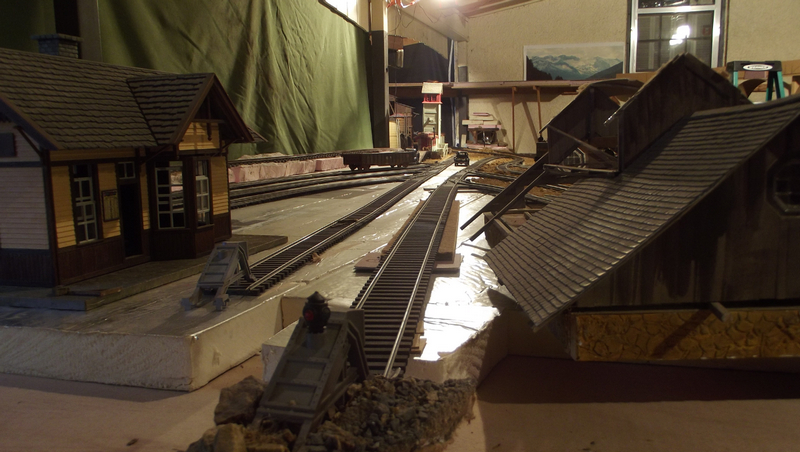
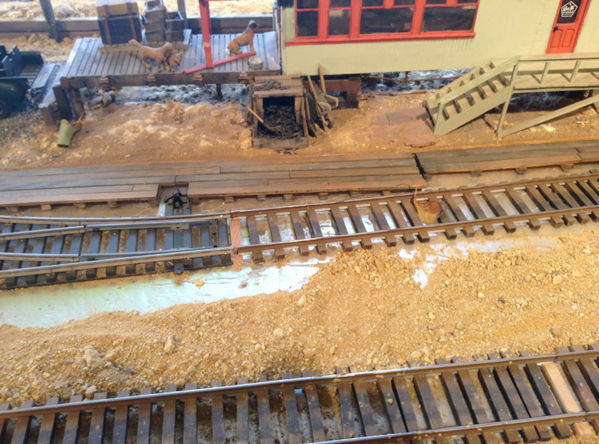
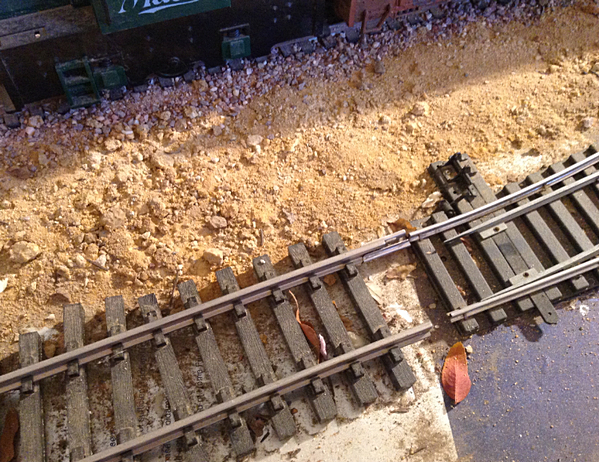
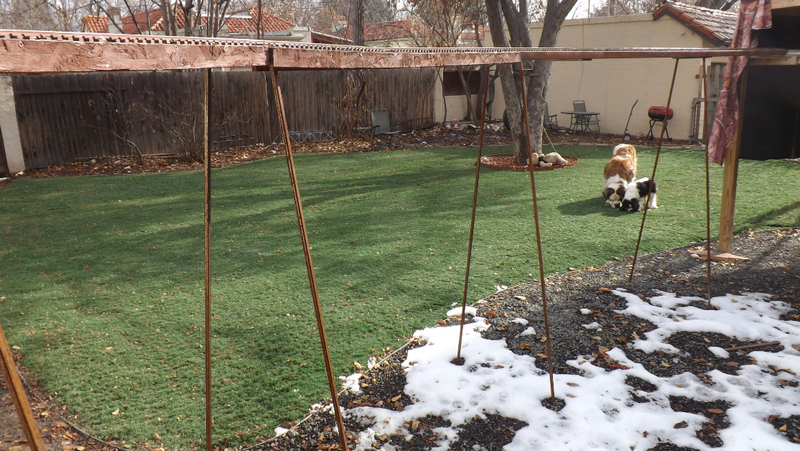
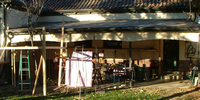
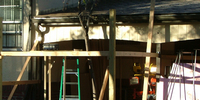
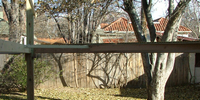
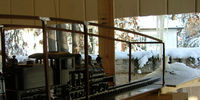
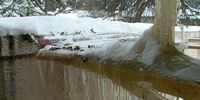
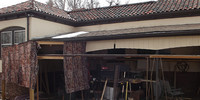
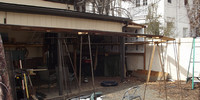
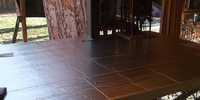
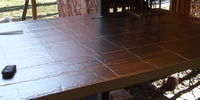
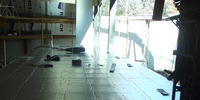
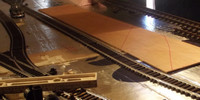
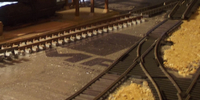
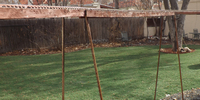
These images represent views of the new canopies, or extended porch areas, on the north and southeast corners of the layout.
The southeast canopy, particularly, allowed widening of the original curves and added protected scenic layout areas.
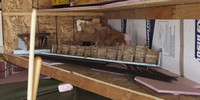


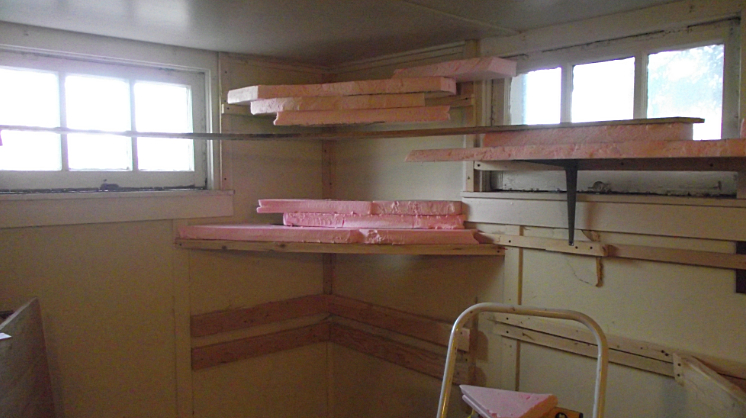
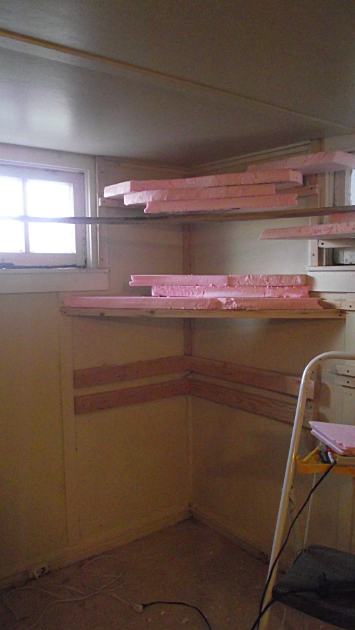
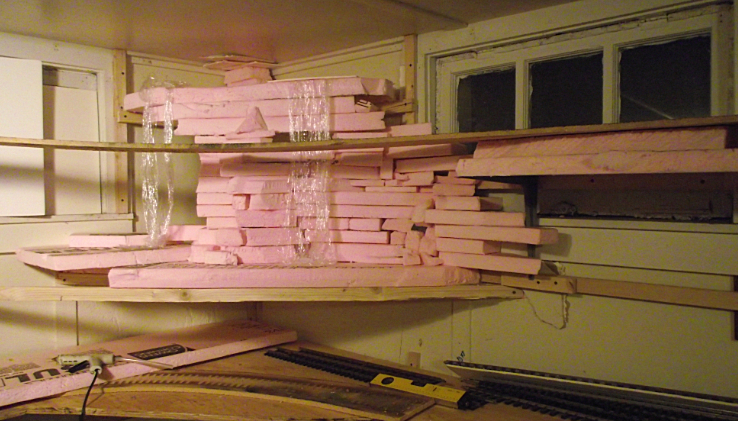
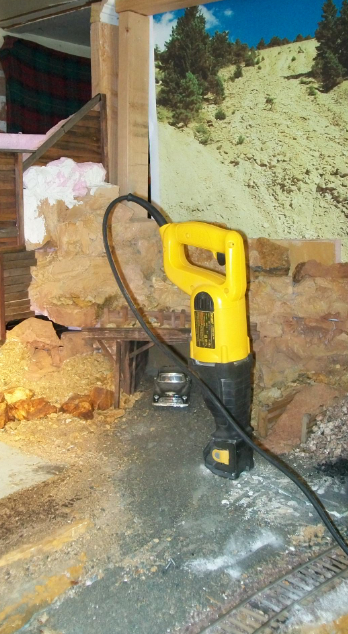
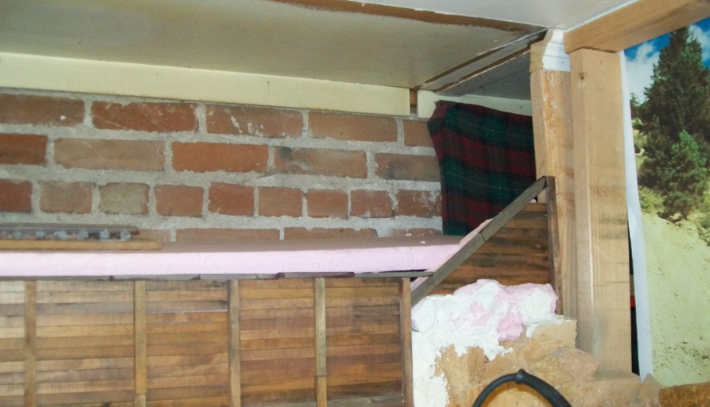
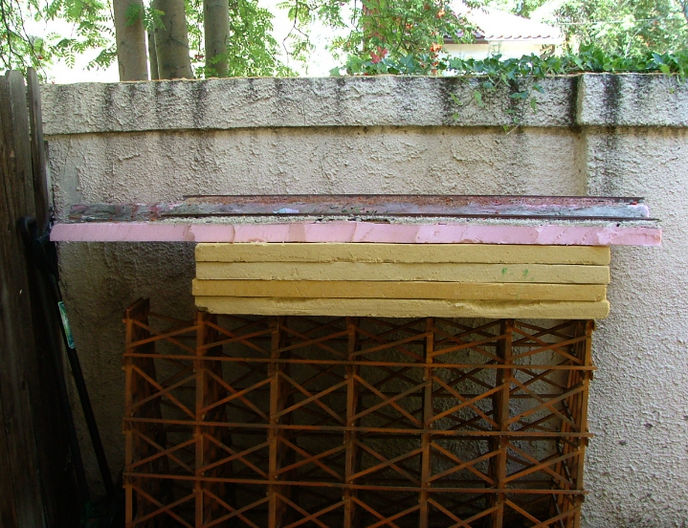
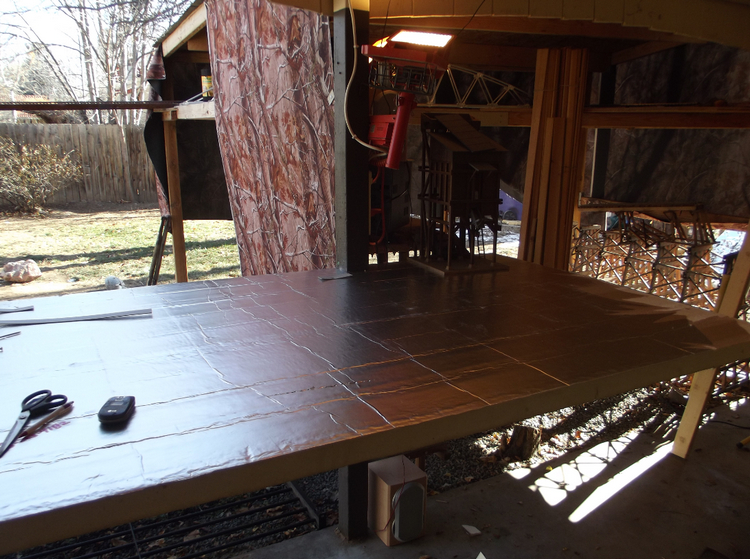
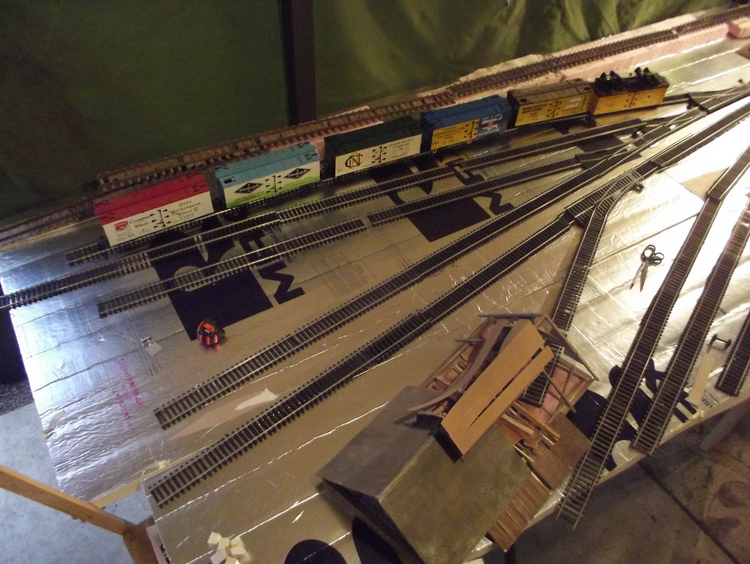
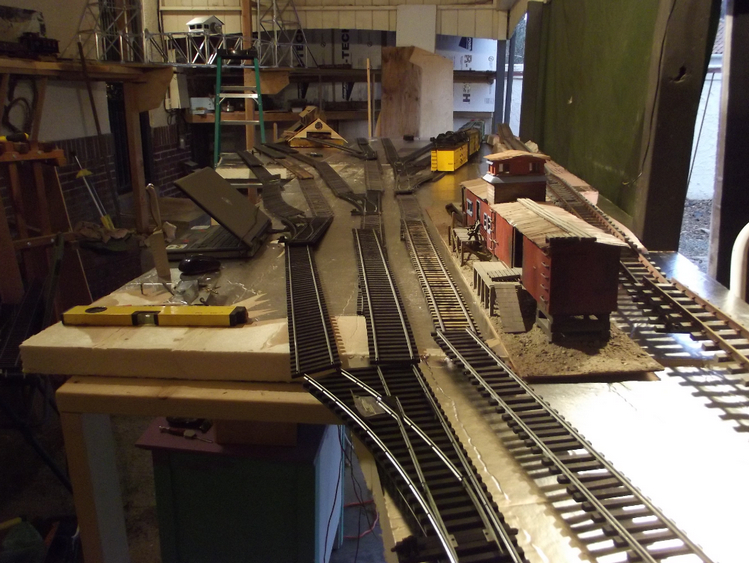
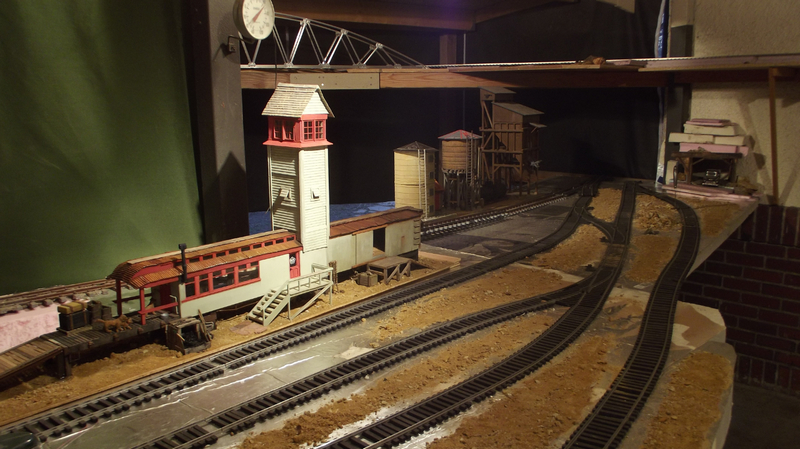
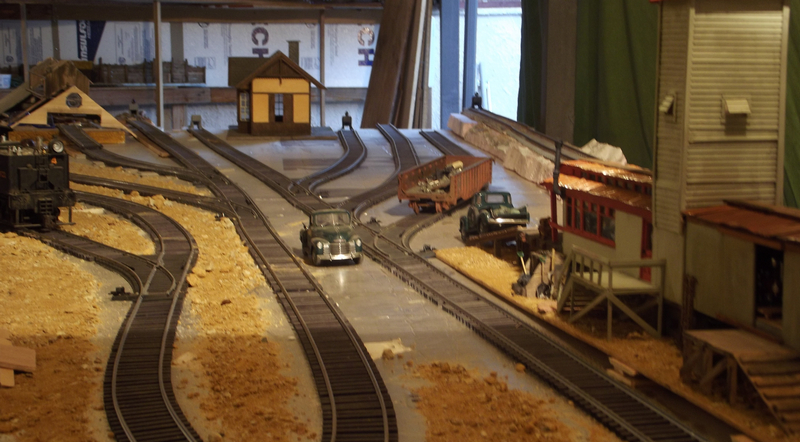
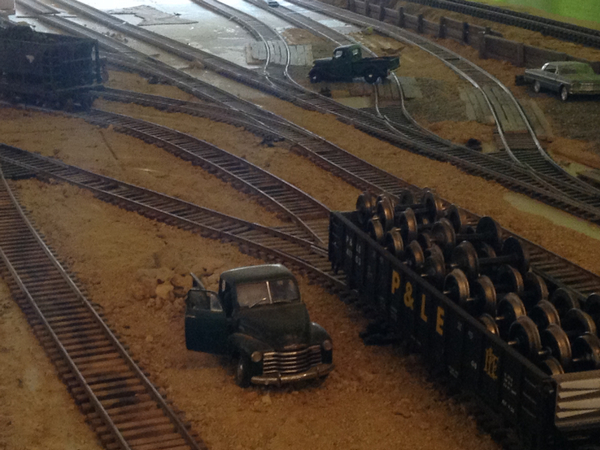
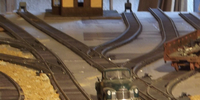
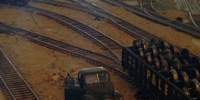
Building a Mountain Yard
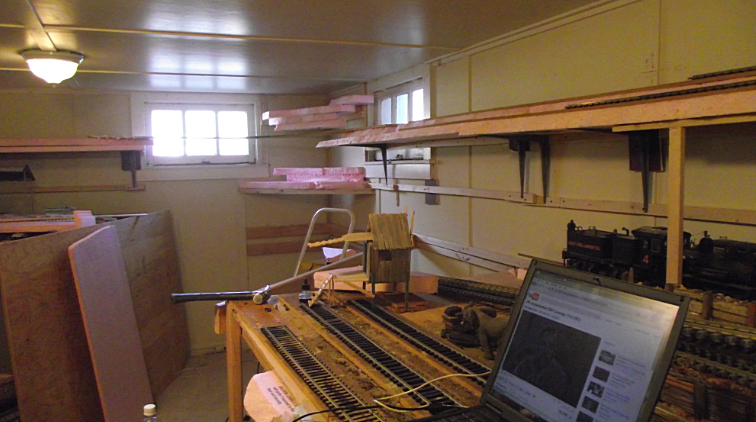
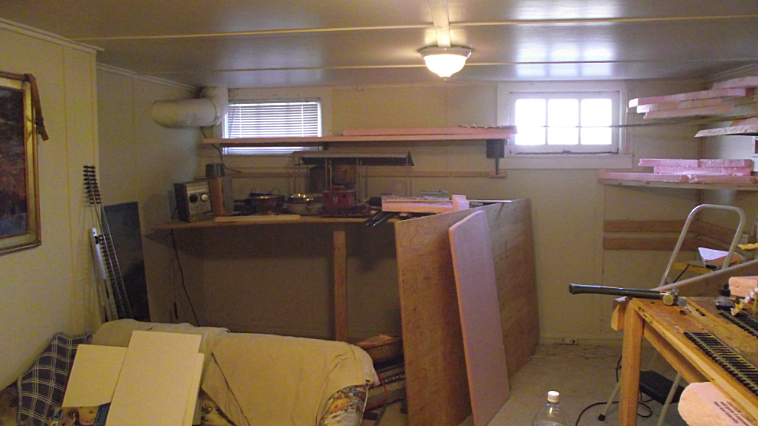
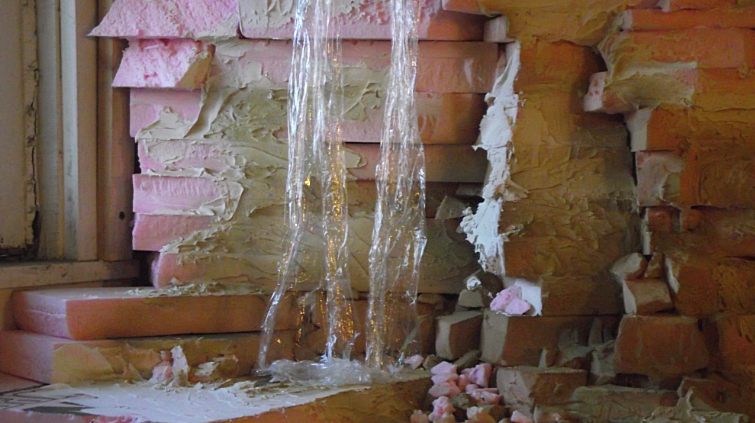
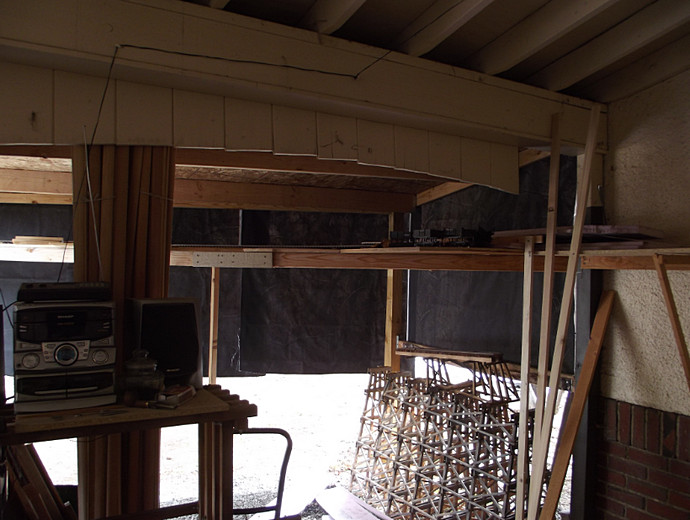
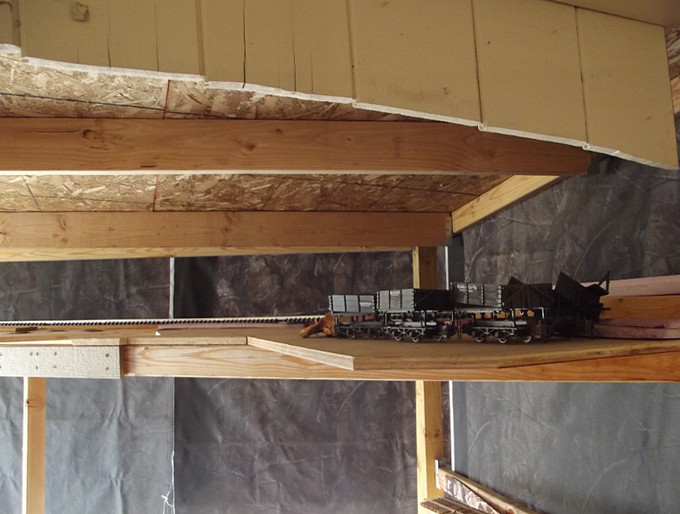
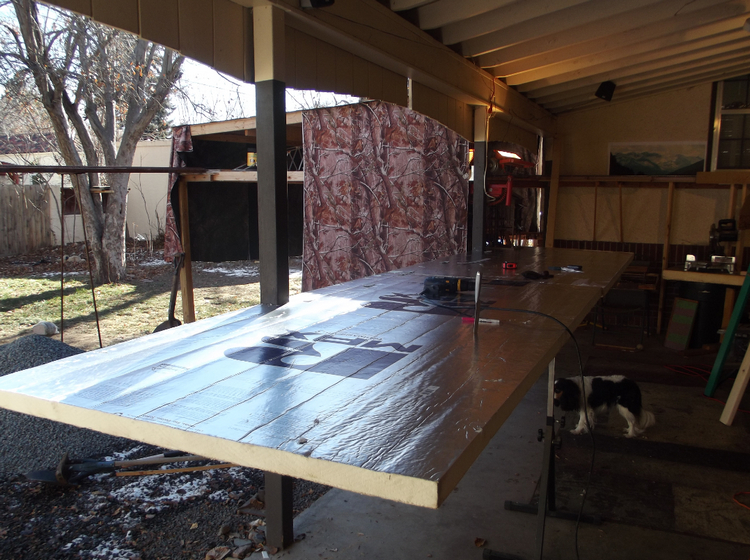
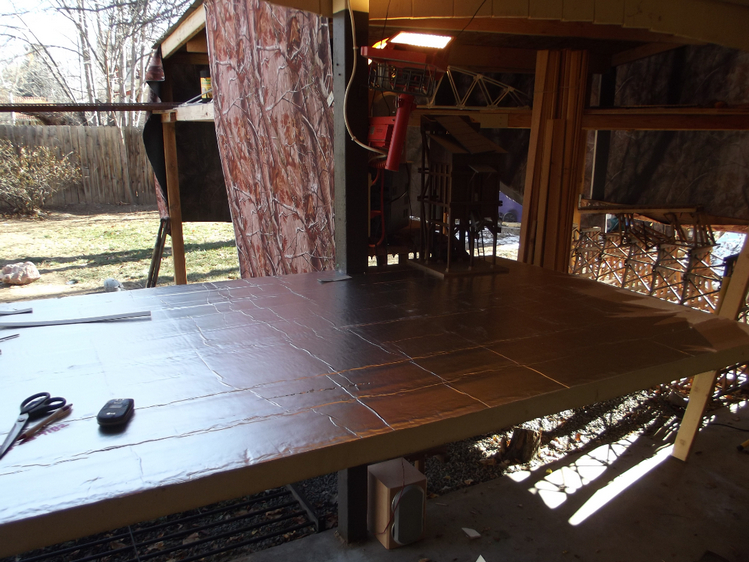
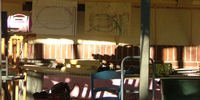
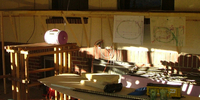
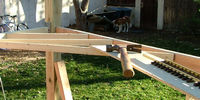
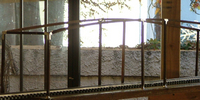
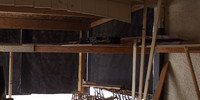
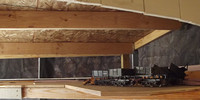
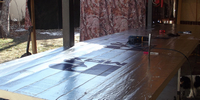
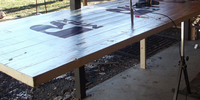
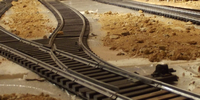
These images represent views of the new mountain yard. While it is four feet wide, It is accessible from both sides of
the porch area, and the eventual background painting will be removable.
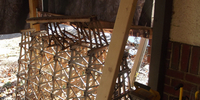


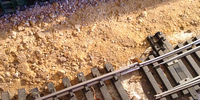
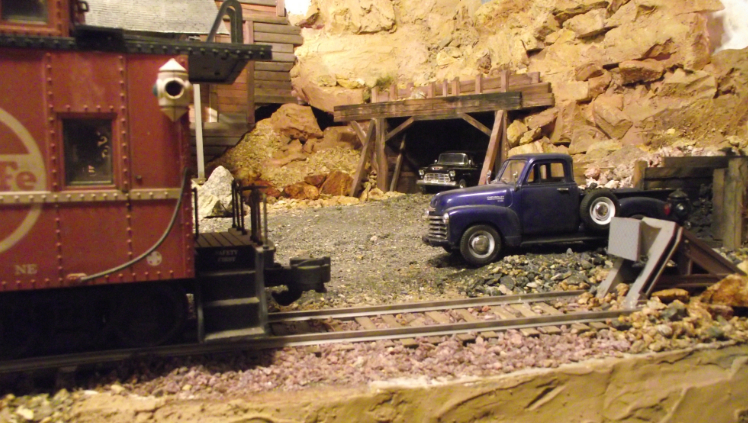
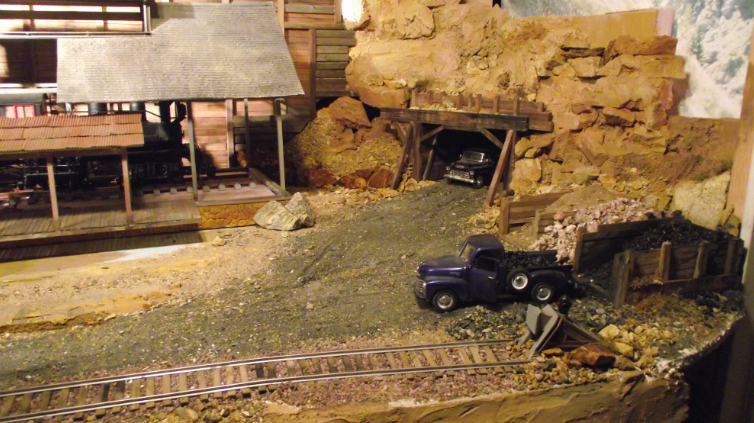
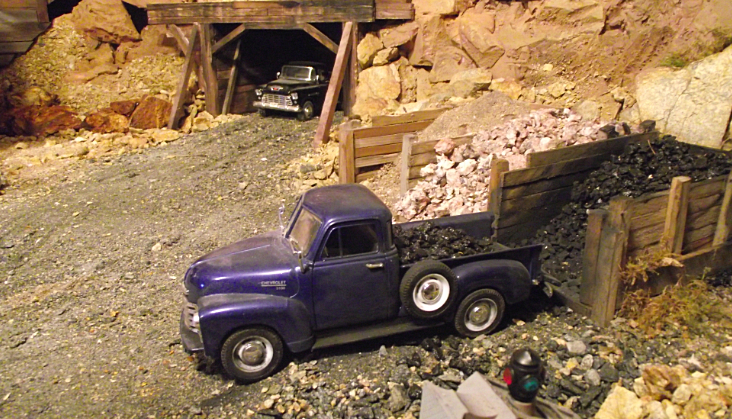
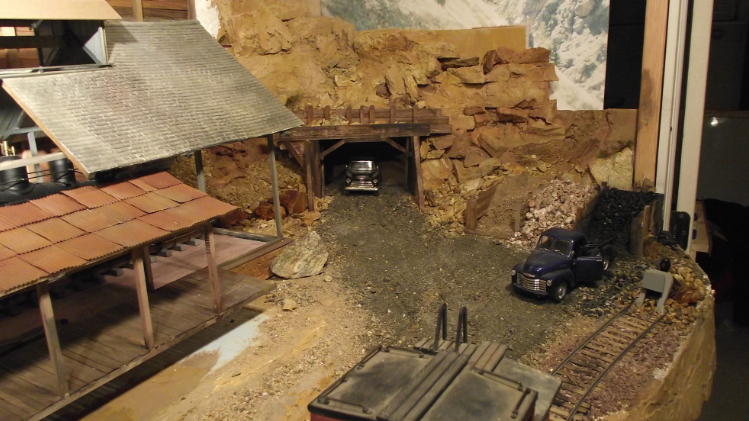
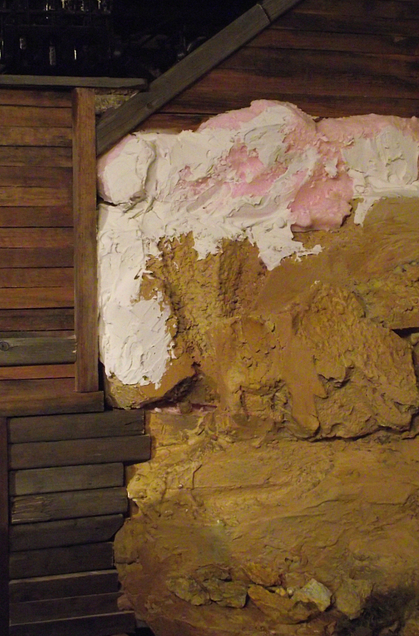
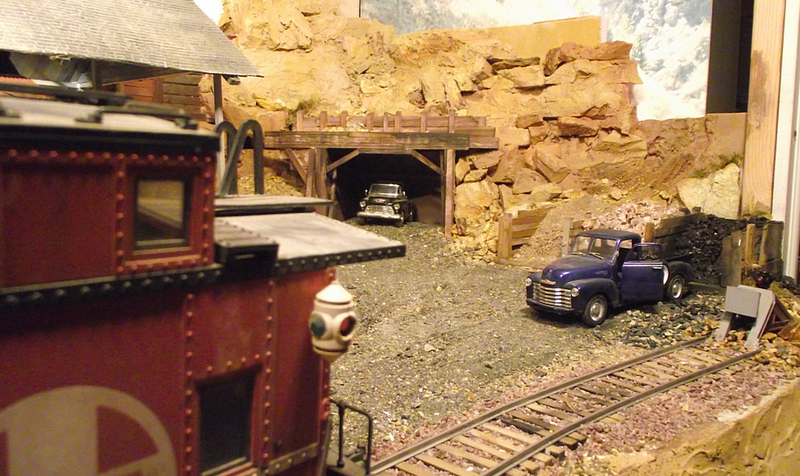
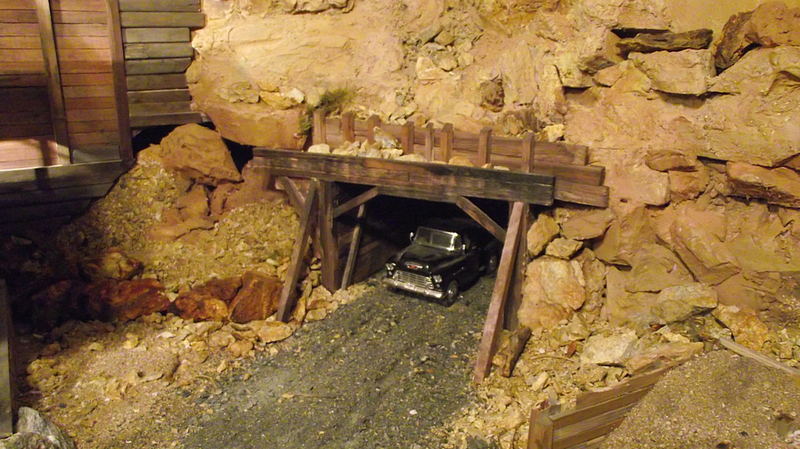
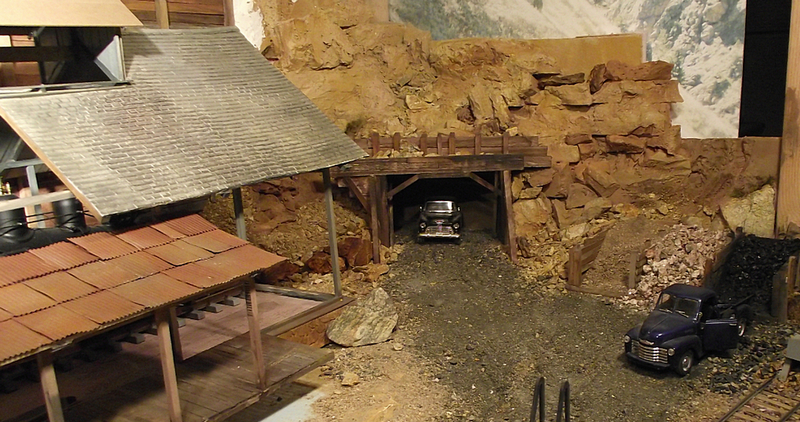
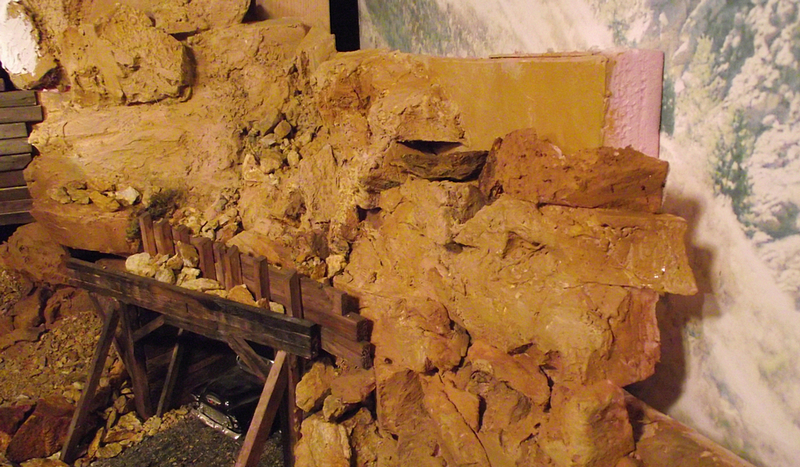
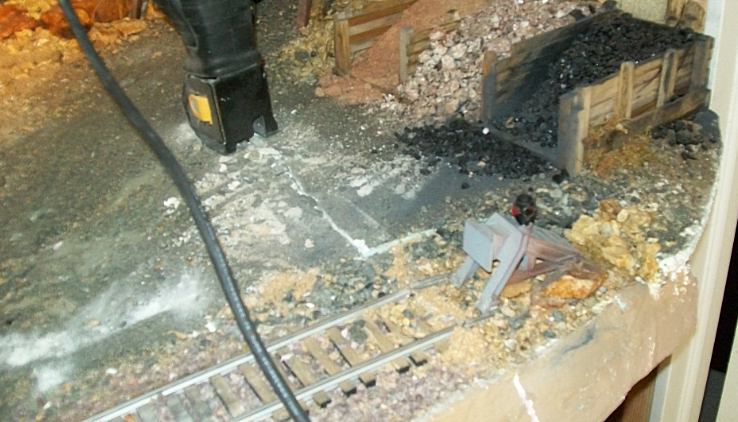
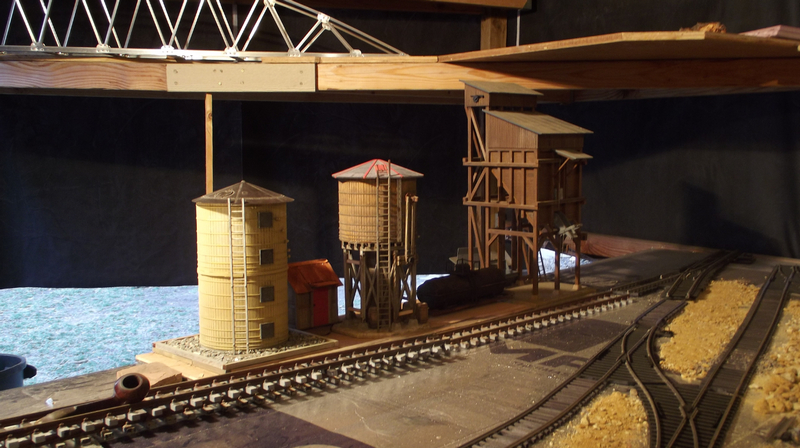
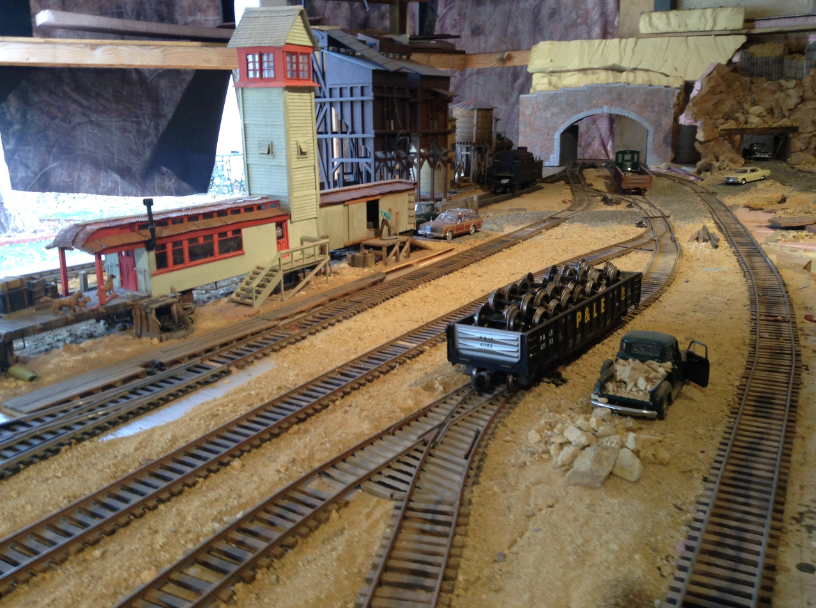
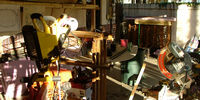
The Mining District
The mines...
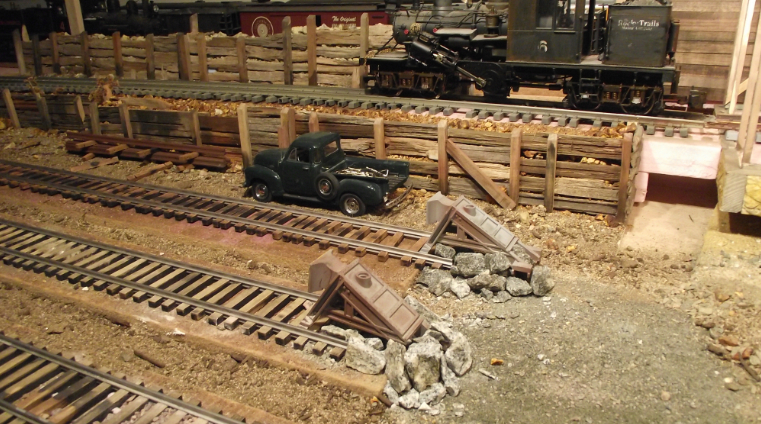
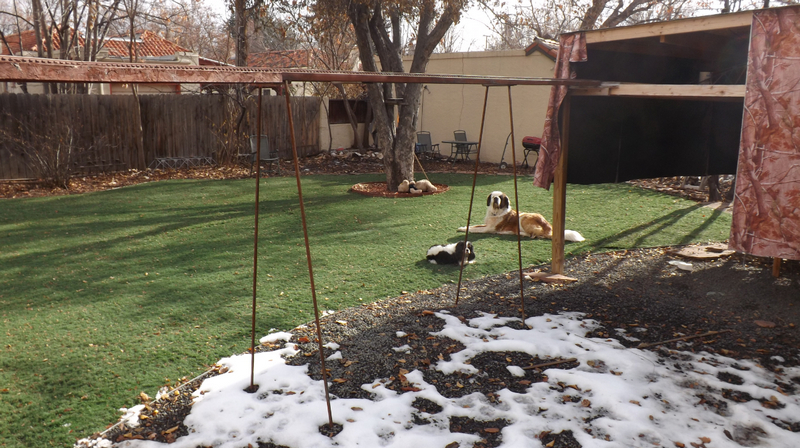
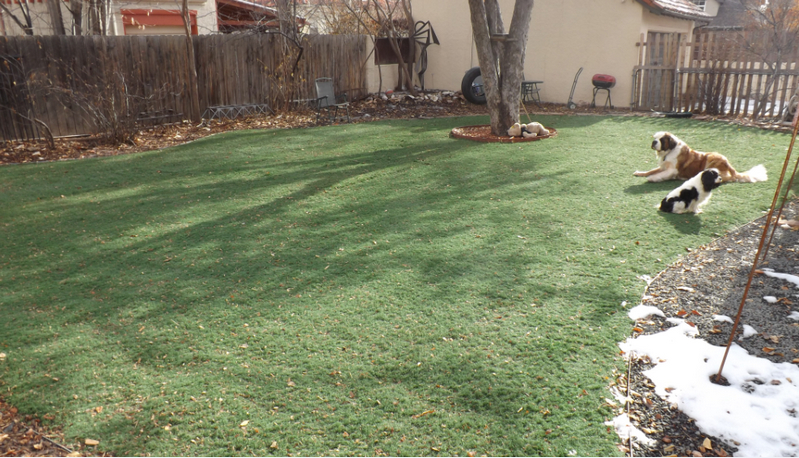
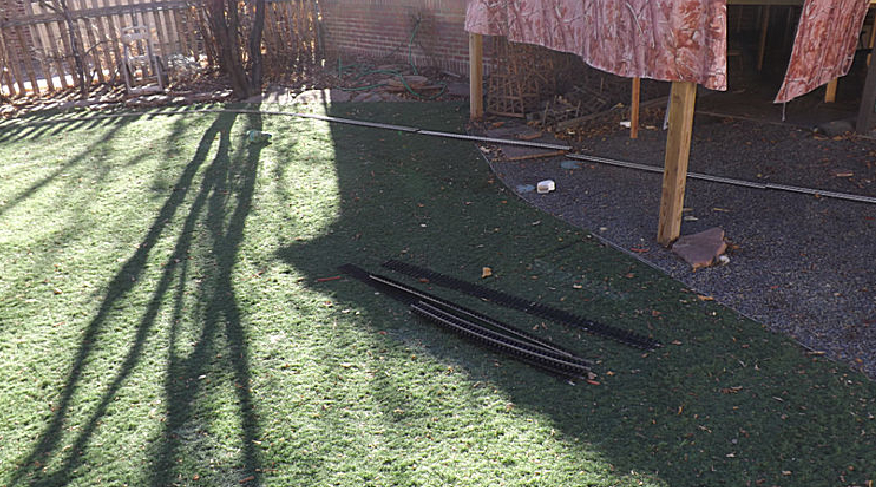
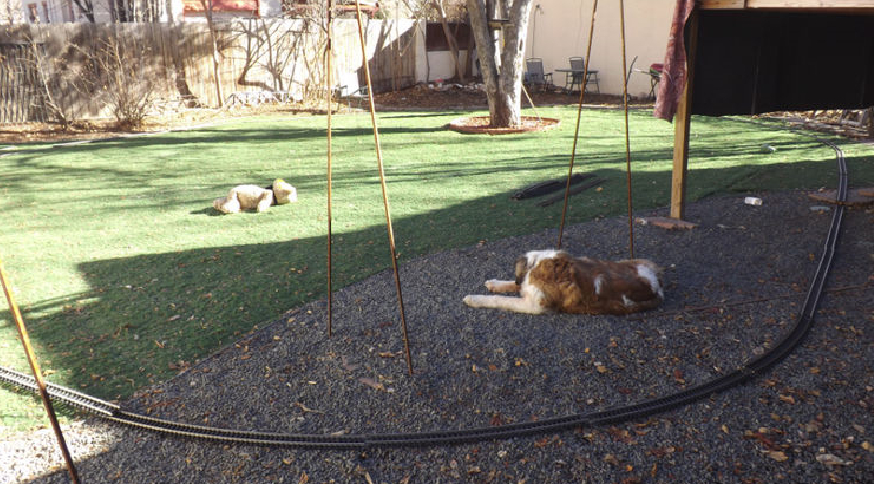
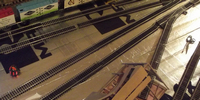
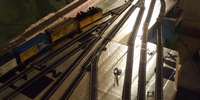
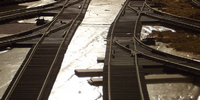
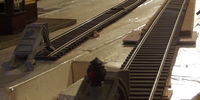
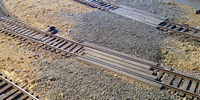
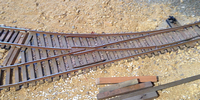
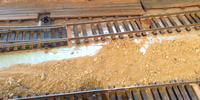
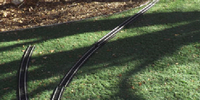
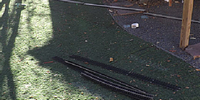
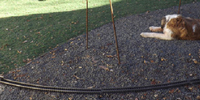
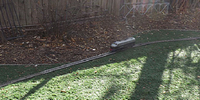
The Double Outdoor Loop Track
Most layouts are a work in progress. There are exceptions, but usually they are exceptions built by people with
virtually unlimited resources of time and money. There are exceptions, but for me I needed to get over the idea that
I had to maintain the highest standards, as if I were rich and unoccupied and unlimited it talent. So one day I said
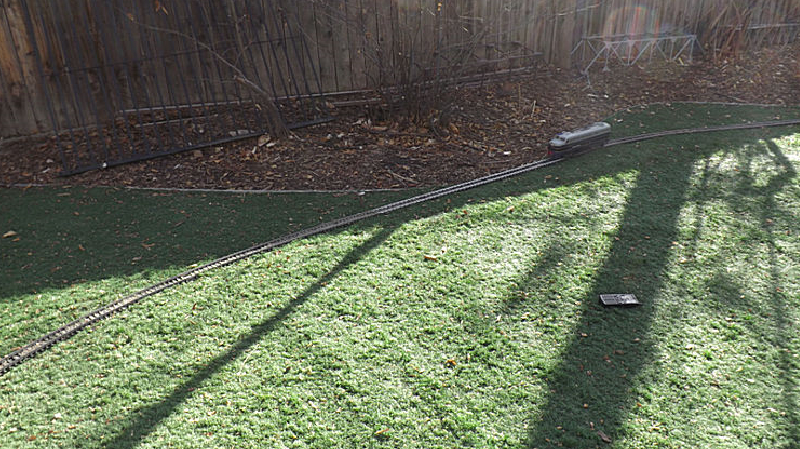
to myself "That's enough!" and I started laying track I could run trains on. I had laid artificial turf in the back yard
and it was time to take advantage. So, finally, after years of having but one loop running, the upper loop through
the porch and the bridge, and that for only a few runs, and after my first layout in the big house basement which
ran a complete loop only briefly, I abandoned all care about perfection and laid a darn track around the back yard,
even though I can't stand trains running around at your ankles, and fully intend to raise this track at some point. I have
a bid from my metal worker for steel trellises, which I may get to some day, but in the meantime, I have a track that runs
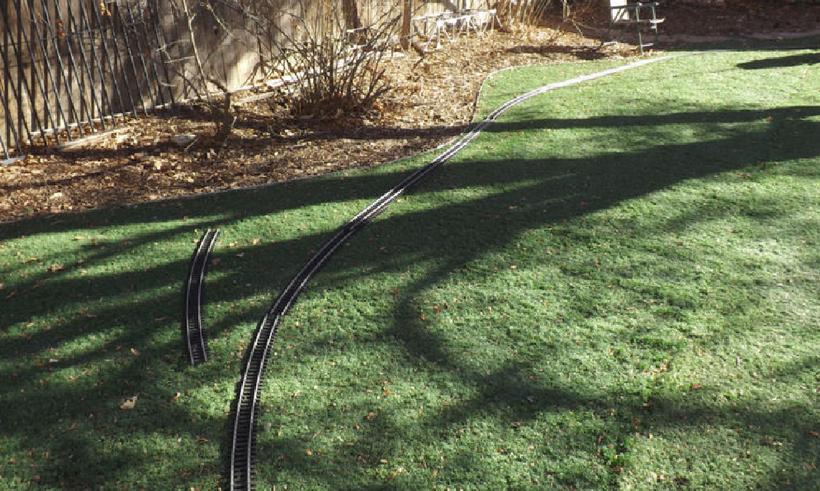
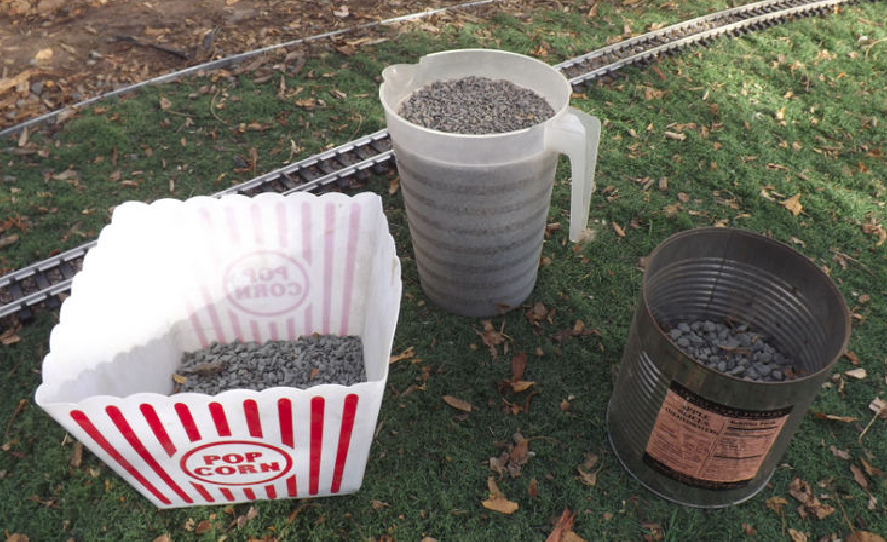
trains. In one afternoon, and in two hours the next morning before going to work, I laid 180 feet of the track you see here,
and ballasted it too. Now I am free to be the high-standards modeller I want to be with the perfect balance that whenever
I want I can run trains endlessly around the yard and get endless enjoyment out of it. I went from a work in progress
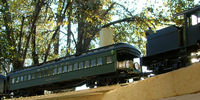
to an operating railroad. In fact, I liked it so well that during Holy Week I laid another track to go with the first and on Easter
I was running two trains side by side.
This, then, is my best advice to modellers starting out, or to anyone who's been working for years on a layout and still
doesn't have trains running: get something running, anything, just the simplest loop if need be, then begin a lifetime
of improvements and expansion and satisfaction in high-quality work .


(c) copyright 2016 Saint Francis Consolidated Railroad, LLC. All rights to the images and text on this website are reserved.
(c) copyright 2001-2016 Devin Inc website design and coding